Your cart
There are no more items in your cart
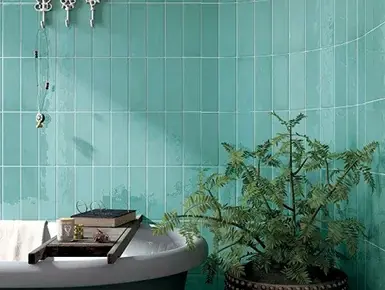
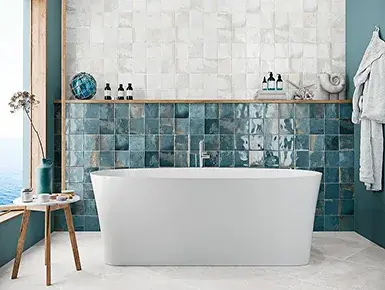
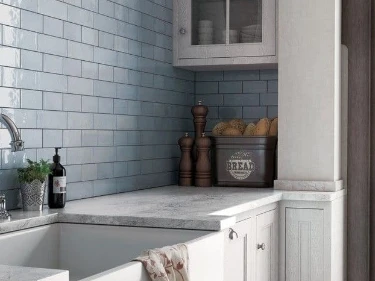
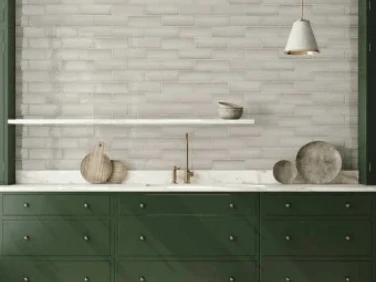

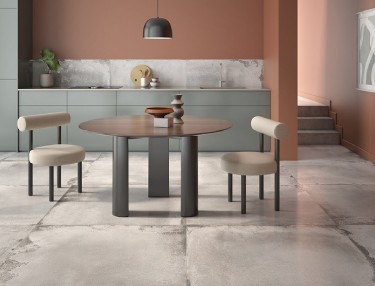
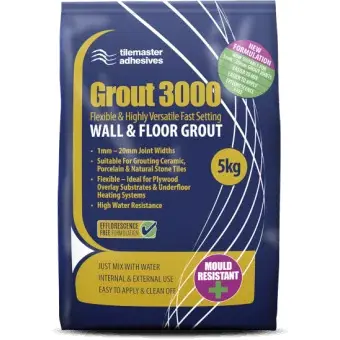
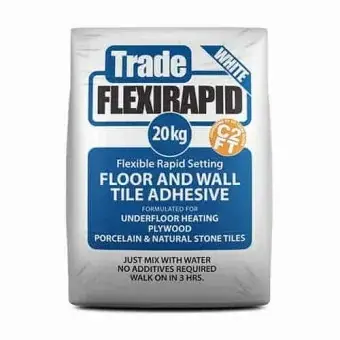








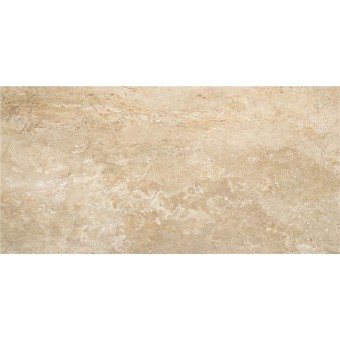

Discover luxury and elegance with our collection of porcelain floor tiles. With so many colours and styles to choose from, you’re sure to find beautiful porcelain tiles that work well with your interior style.
Porcelain is fired at extremely high temperatures and is an incredibly strong material, making it a staple choice for high-traffic areas such as kitchens, bathrooms and in many cases, outdoor patios too.
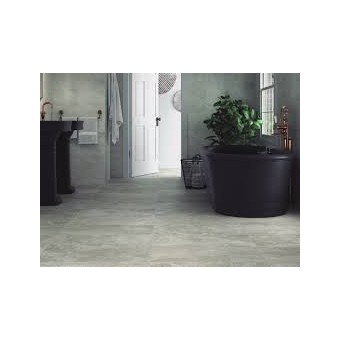
Whether you’re planning on installing new bathroom tiles with underfloor heating, or new patterned kitchen tiles for an enhanced look, we’ve got you covered with our wide curation of premium porcelain floor tiles.
Porcelain tiles are normally fired between 1,200°C to 1,400°C (2,200°F to 2,550°F) and they undergo a process called vitrification where the intense heat melts the silica gas inside the clay bend. This makes porcelain tiles really durable and therefore suitable to areas in your home where there’s a lot of footfall, including bathrooms, kitchens and dining areas.
The robust porcelain material is less likely to crack under stress, and it can manage expansion and contraction movements from temperature changes that come with underfloor heating. They’re a really reliable choice for frequently used environments!
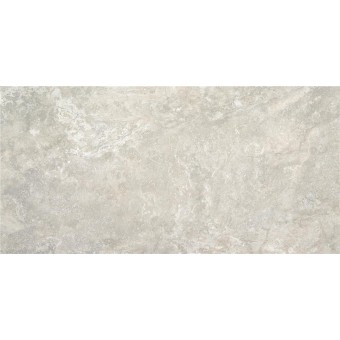
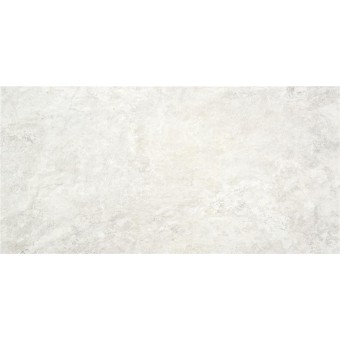
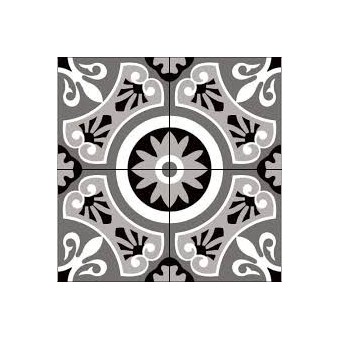
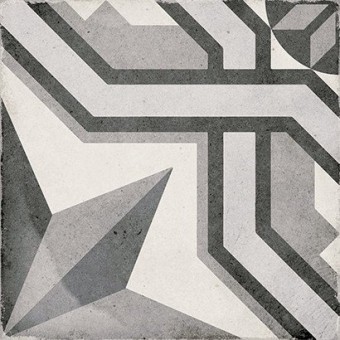
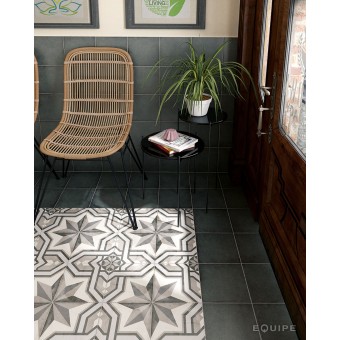
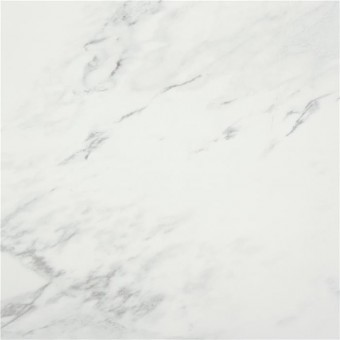
Porcelain tiles are very versatile when it comes to their aesthetics too. In our porcelain tile floor range, you’ll discover natural stone-effect tiles, patterned tiles and much more.
Both ceramic and porcelain tiles each make excellent choices for tiles and they each have their place in the home, but there are some key differences between them. Why don’t we take a look at their pros and cons to help you discover which one is the best for you?
Malleability: Tile Cutting & Reshaping
Porcelain tiles are so strong that they often require a specialist diamond-cutting tool to trim them down to size. For this reason, we recommend you consult a professional to install your tiles for you, unless you’re skilled at DIY and have all the handy tools available.
Ceramic tiles tend to be easier to cut down and reshape, which is ideal if you’re thinking about installing tiles yourself. For example, you can create a beautiful mosaic pattern by using tile nippers to intricately reshape the ceramic tiles down to size.
Strength & Durability
Many of our floor tiles are mainly porcelain, as this material is well-suited to handling frequent pressure that's applied to floor tiles each day. These tiles are also often anti-slip, where there’s more texture added on the surface of the tile for more grip. Ceramic, on the other hand, is more common as a wall tile as their glossy surface can scratch if used on floors.
Water Resistance & Moisture Absorption
One of the biggest differences between ceramic and porcelain tiles is how much water they absorb. Porcelain tiles are made from denser clay and fired at a higher temperature, meaning they have a much lower water absorption rate. This makes them ideal for areas where moisture is common, such as bathrooms, kitchens, utility rooms, and outdoor spaces.
Ceramic tiles are more porous, meaning they can absorb more water. While many ceramic tiles are perfectly suitable for indoor walls and some floors, porcelain is an ideal choice for areas exposed to heavy moisture or temperature changes.
Cost & Value For Money
Porcelain tiles tend to be on the more expensive side, which is largely down to their manufacturing costs and their durability. If you’re looking for high-quality tiles for the long-term, they’re certainly worth the investment.
Ceramic tiles are often the more affordable option, making them ideal if you’re on a budget. They offer plenty of choice in colours, patterns, and finishes without the higher price tag of porcelain.
To learn more about the differences between ceramic and porcelain tiles, sit back, relax and read our guide where we break down each of their pros and cons in more detail!
Porcelain floor tiles are very easy to clean. While porcelain is renowned for having such a long lifespan, it’s important to stay on top of cleaning and maintaining them for even longer use. If not, the wax, oils and debris can eventually break down the grout between the tiles. So, let’s take a look at some easy steps:
Step 1: Vacuum Or Sweep Your Porcelain Floor Tiles
To remove the surface layer of dirt, we recommend that you use a vacuum cleaner on a hard floor setting. Alternatively, use a sweeping brush to remove any dirt or dust that’s sitting on your tiles.
Step 2: Wipe Between The Grout Lines
Use a microfibre cloth with some light cleaning detergent. Avoid using harsh chemicals - stick with a PH neutral tile cleaner for best results.
Step 3: Mop The Tiles
Fill a bucket with warm water and add a small amount of pH-neutral tile cleaner. Mop the floor using a soft microfibre mop to lift away any remaining dirt or marks. Avoid soaking the floor with excessive water.
Step 4: Rinse With Clean Water
Once you've finished mopping, rinse the floor with clean water to remove any leftover cleaning solution. This helps prevent residue from drying on the surface, leaving your porcelain tiles with a clean, streak-free finish.
Step 5: Dry The Floor
Finally, dry the floor using a clean microfibre cloth or allow it to air dry naturally. Drying the tiles helps prevent water spots and keeps your porcelain floor looking polished!
For more tips and information on how to clean your tiles, why not read some more of our guides? Here, we break down all the steps and everything you need to know about cleaning your tiles.
Installing porcelain tiles yourself can sometimes be daunting at first if you’re unsure where to start. However, these simple steps will show you clearly how to install them, leaving you with beautiful tiles and a new skill! Let’s take a look at how to install porcelain tiles accurately.
If you’re unsure where to start when it comes to budgeting for your tile project, our helpful guide can help you plan tiling costs.
Step 1: Plan Your Tile Layout
This step is essential for achieving a professional finish. Start by finding the centre of the room and dry-lay your porcelain floor tiles in both directions towards the walls. This lets you see how the tiles will fall and whether you'll end up with any awkward, narrow cuts around the edges.
If you spot small slivers of tile against a wall, simply adjust your starting point slightly until the border cuts are larger and more balanced. Spending a little extra time planning now can make a huge difference when it comes to the final results!
Step 2: Apply The Tile Adhesive
Once you have your subfloor fully prepared, and your layout is planned, you can then start by applying your adhesive. Use a notched trowel and cover a small area at a time. Holding the trowel roughly at a 45 degree angle will help you create even ridges in the adhesive so tiles can stick to it better.
You can also back-butter your tiles to ensure that they’ll stick down effectively. This is where you apply a light layer of adhesive to the back of each tile before laying it, helping achieve full and consistent coverage.
Step 3: Lay The Porcelain Tiles
Carefully lower each porcelain floor tile into the adhesive and use a gentle twisting motion to help the tile bond properly. After placing each tile, you can check that it’s level by using a spirit level.
As you go along, insert tile spacers between each tile to ensure you get an even amount of spacing. This is important to help minimise tile lippage, which is the term used to describe uneven tiles.
Step 4: Trimming Down Tiles
Once the main floor is tiled, you might find that you’ll need to cut porcelain tiles to fit around the edges of the room. Porcelain is a stronger material compared to ceramic, so it often requires a specialist tool to cut it down to size, such as a diamond-cutting blade or a heavy duty tile cutter.
If you’re confident that you can use one of these tools, you can begin and put on your safety glasses. An easy way to measure each cut is to place a full tile directly on top of the last laid tile. Position another tile on top and slide it towards the wall, leaving a spacer between the tile and the wall to allow for the expansion gap. Mark where the top tile overlaps the tile below - this gives you an accurate cutting line.
Take your time with each cut, especially around door frames, pipes and corners, as these details make all the difference to the finished result.
Step 5: Grout The Floor
Once the tile adhesive has fully cured according to the manufacturer's instructions, which could take a couple of days at the longest, it's time to grout your porcelain floor tiles.
Use a grout float to work the grout firmly into each joint, ensuring every gap is completely filled. Remove the excess grout by holding the float at an angle, then wipe the tiles with a damp sponge before the grout begins to harden.
Once the grout has started to set, use a grout finishing tool or your sponge to smooth the joints and create a clean, consistent finish. Finally, polish away any remaining grout haze with a soft, dry cloth once the grout has fully cured. Wait for everything to fully dry and cure, and you’ll finish with some beautiful tiles!
51 Reviews

4.6 Rating 51 Reviews
The price of the tiles definitely beat competitors and was a speedy delivery. However, the delivery was of poor quality, resulting in many broken tiles due to poor packaging on the pallete and poor delivery to the door. I've since written to customer service to remedy the issue, and even after several days there has been no reply. I'm not sure the savings is worth the hassle.
0 months ago
Arrived early, no breakages and tiles look very smart on outside water feature.
0 months ago
Excellent transaction, tiles arrived in great condition, and driver wheeled them down the drive right to the front door, highly reccomended. Thanks.
0 months ago
Very quick delivery and beautiful tiles
0 months ago
Arrived quickly, no broken tiles well packed. All very simple
2 months ago
Amazing service. I ordered one box of tiles and 24 hours later it was Delivered in good condition to the other end of the country!
5 months ago
I needed these tiles with in two days, they arrived with in two days and are amazing quality, my client is over the moon with them, will be using online tile shop from now on
6 months ago
Bought some fantastic tiles for my kitchen delivery was prompt. There was a little hiccup with delivery but the company sorted it professionally and quickly love the tiles. Can’t wait to go back to choose some more for my bathroom. Great company really friendly customer service team only too happy to help.
6 months ago
Website worked well, great selection of tiles, ordering was easy and the speed of delivery amazed me! Well done
6 months ago
Very impressed with the service. We were left short of a specific tile when our bathroom supplier went bust. I found them on the Online Tile Shop's website, called them to check and received confirmation they had enough in stock. Delivery was quick and not expensive, and they kept in touch on the delivery progress. Would recommend.
8 months ago