Your cart
There are no more items in your cart
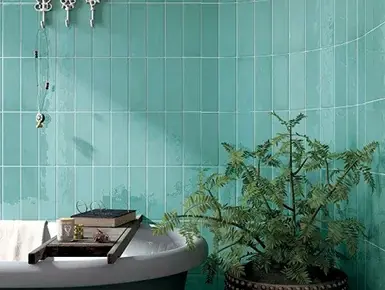
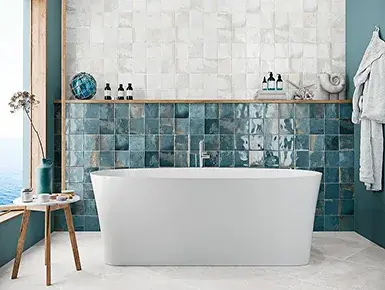
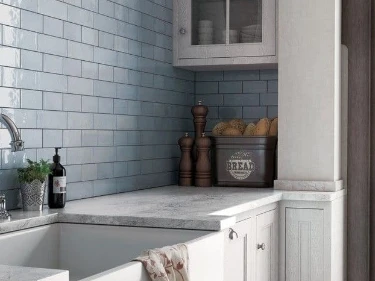
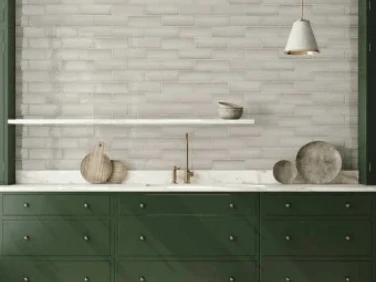

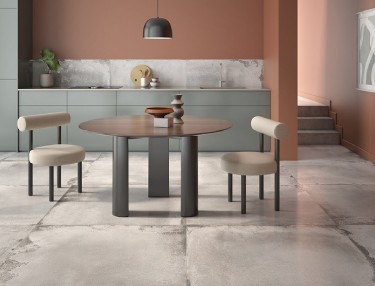







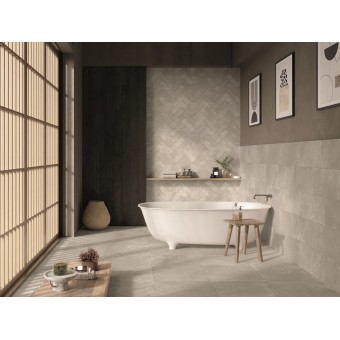

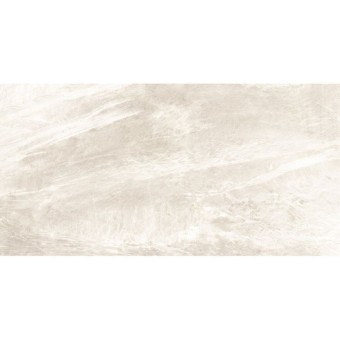
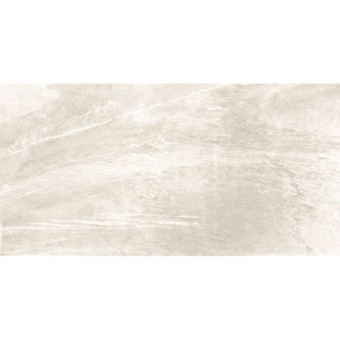
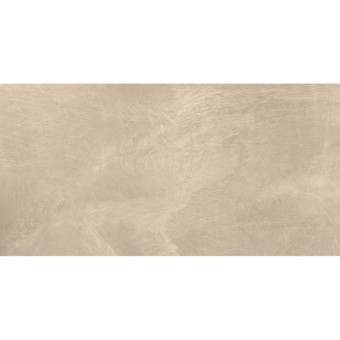
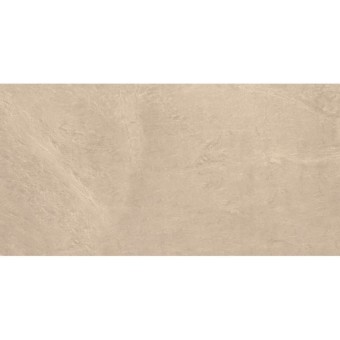
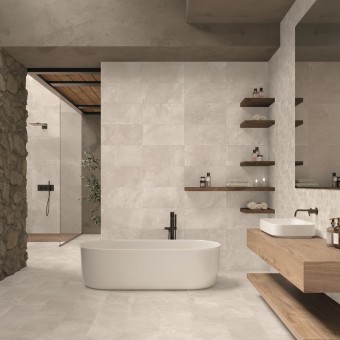
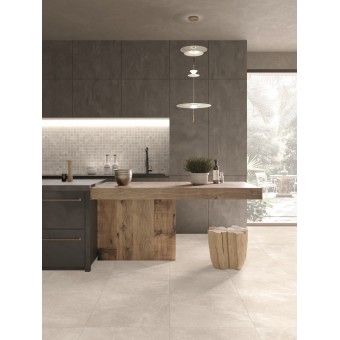
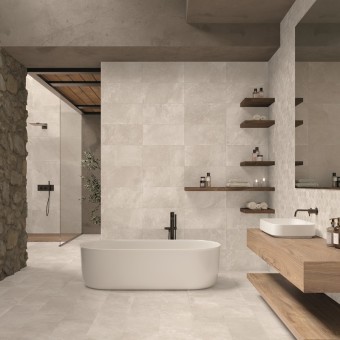
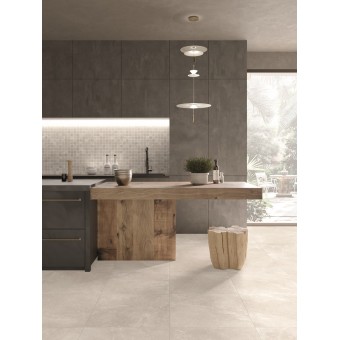
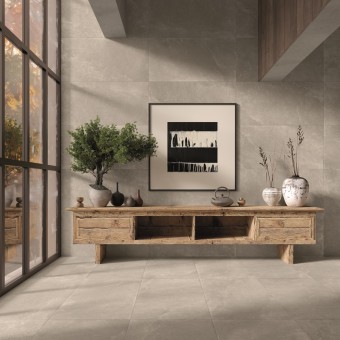
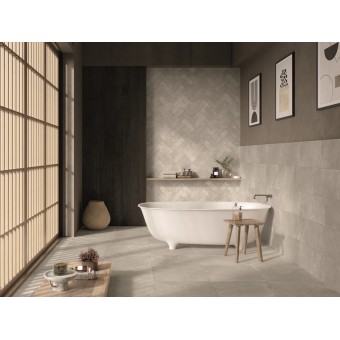
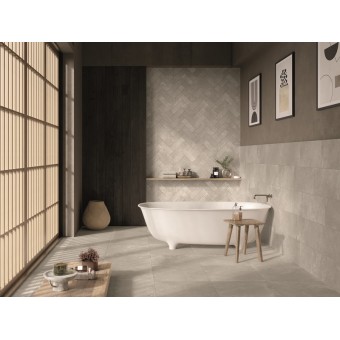
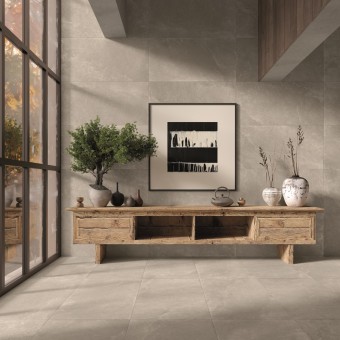
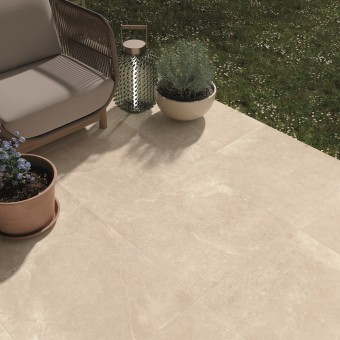
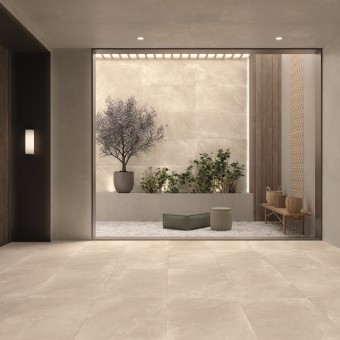
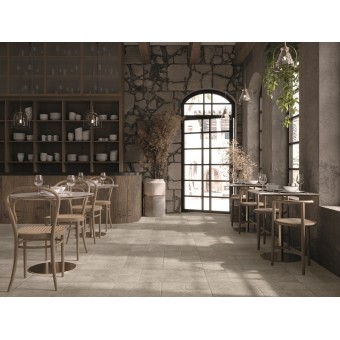
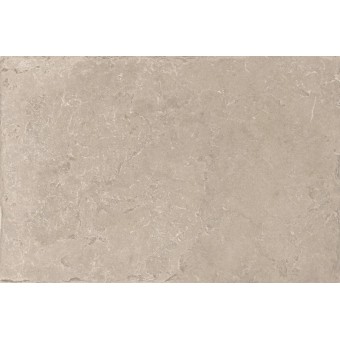
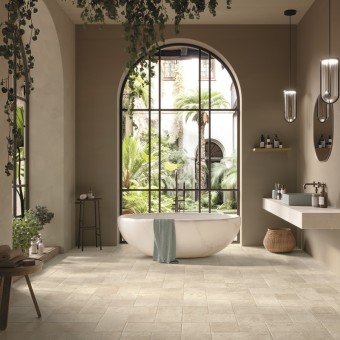
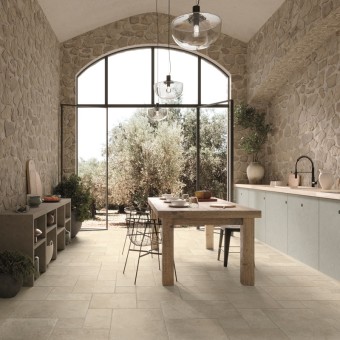
Our Floor Tiles are available in both porcelain and ceramic, offering you a range of options to suit your style. With intricate patterns and exquisite details, our Floor Tiles are designed to enhance the aesthetic of any room in your home.
Whether you're looking for a sleek modern look for your kitchen or a more traditional and cosy feel in your bathroom, our floor tiles cater to a variety of tastes. Explore our collection to find the perfect floor tiles that will add true character and charm to your home. From classic designs to arty and vibrant styles, we have something for everyone.
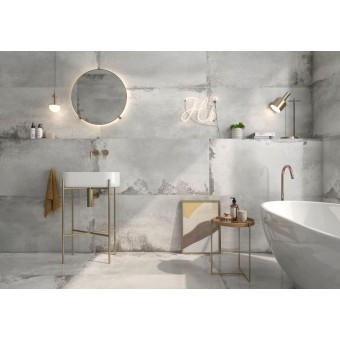
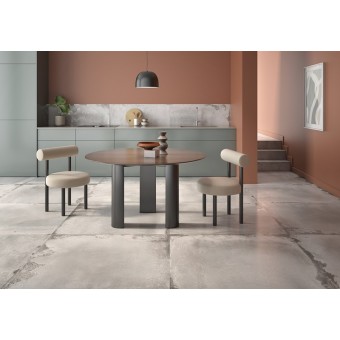
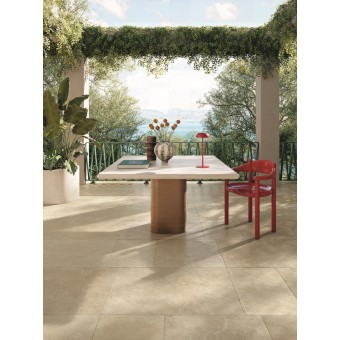
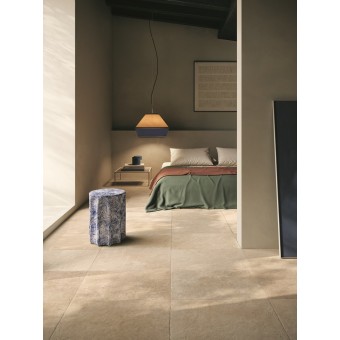
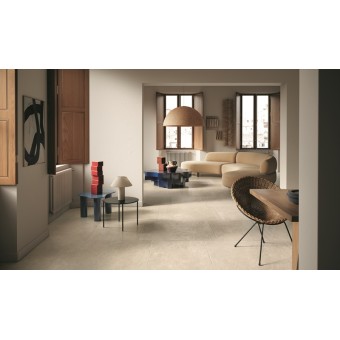
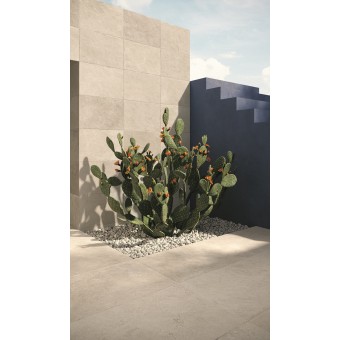
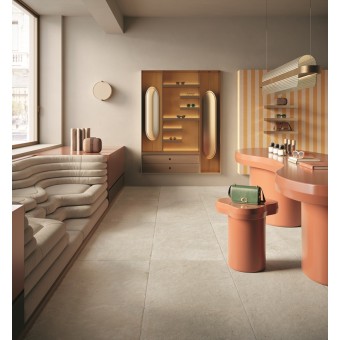
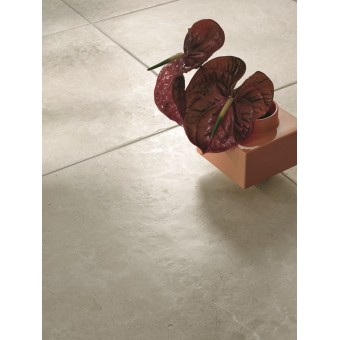
We have a wide collection of small and large floor tiles, ranging from smaller 6cm long tiles to larger 100cm length tiles that are sure to make your rooms feel even more spacious. Let’s take a closer look at our largest and smallest floor tile to give you some ideas for how best to utilise them.
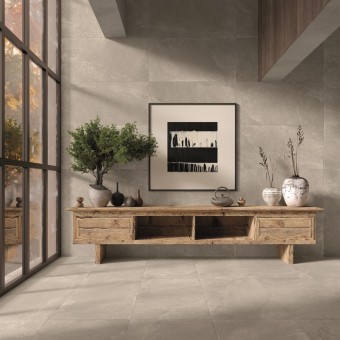
Largest Floor Tiles - (100cm x 100cm) - Our larger floor tiles are great for areas with bigger square footage. They tend to be designed with light grey and white marble patterns, adding a clean, contemporary touch to the living space. For improved safety, a lot of these larger floor tiles are anti-slip too, giving you peace of mind as well as a stylish finish.
Smallest Floor Tiles - (6cm x 24cm) - Our smallest floor tiles make a great option if you would like to create a unique design on your floor, such as herringbone patterns or mosaic styles. A lot of these smaller tiles that we offer are also glazed and made from porcelain or ceramic, making them ideal for bathroom or kitchen use.
If you have some decorating plans but you are unsure which floor tiles to go for the bathroom or kitchen, we have all the answers you need in our Ultimate Guide To Choosing Floor Tiles.
Yes, you can paint your existing floor tiles and the paint can last a long time, providing that this is done correctly with the right paints and materials. It’s often a cheaper way to change the look and refresh your tiles without having to install new ones completely. Here’s some tips on how you can make the paint on your floor tiles last longer:
Clean Your Tiles Thoroughly Before Starting
Before beginning your tile-painting project, we recommend that you thoroughly clean your tiles by sweeping and vacuuming them. Removing any dirt as much as possible will help prevent any build-up of dust, debris, oils and wax that can prevent the paint from drying properly.
Feel free to check out our tile cleaning guide if you’re looking for some effective ways to make sure your tiles are completely clean.
Lightly Sand The Tiles
Before applying any paint or primer, we recommend that you lightly sand the tiles first. This creates a more textured surface where the paint can adhere to the tiles easily, as opposed to being completely smooth.
Use Epoxy For Tiles / A Tile Specific Paint
For best results, we suggest that you apply a tile-specific bonding primer before painting. You can then use either a tile paint or a two-part epoxy floor paint, depending on the room and the level of wear. It’s important to use the right epoxy or paint so they are able to withstand a lot of footfall and manage moisture in wet environments.
Apply Multiple Coats
Applying multiple thin coats can help produce a smoother finish, reduce brush marks and speed up the drying time. Allow each coat to dry before applying the next.
Allow Enough Drying and Curing Time
Sometimes, tile paint can be a little deceiving. It may look like it’s completely dry even after a few hours, but it can actually take several days to fully cure. For this reason, we recommend that you avoid walking on the tiled area or exposing it to excessive moisture. Rushing this step can damage the finish before it has properly hardened.
Avoid Painting Damaged Tiles
If you notice during or before your tile installation process that there is some damage to your tiles, such as cracks or tile lippage, we recommend that you avoid painting them. This is because the paint is unlikely to last a long time on a damaged surface, leading to it cracking and chipping. In this case, it’s often best to replace the tiles fully for long-term quality.
Grouting floor tiles might seem a little bit daunting at first, especially if you’re a complete novice to tile installations. With our simple steps and helpful guides, you’ll have a beautiful tile installation in no time.
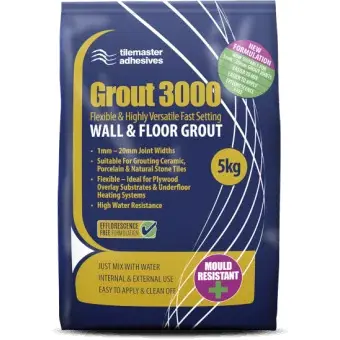
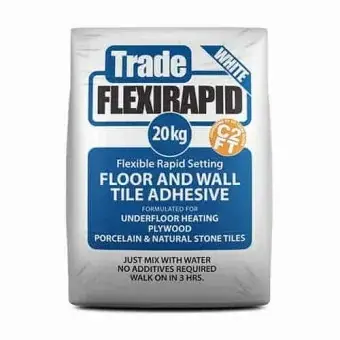
Before we dive into the steps, understanding which grout and adhesive you need is really important. Our complete guide on grout breaks down the differences between silicone, cement, sanded grout and much more: all to help you understand which one is best for your tile installation.
Step 1: Prepare The Surface
Before applying adhesive, it’s important to ensure that the surface is clean and free from any dust and debris. These contaminants often prevent the adhesive from bonding properly, so it’s a good idea to make sure the surface is thoroughly clean.
Step 2: Apply The Tile Adhesive
Using a notched trowel, spread a thin even layer where the tiles will be laid over a small area at a time (around 2-3 square feet at a time). Working in small sections helps prevent the tile adhesive from drying quickly before tiles are laid. The notched trowel is designed to create grooves for the tiles to adhere effectively.
Step 3: Lay The Tiles
Press the tile firmly into place on the adhesive and use a slight twisting motion to fully bed it. Continue laying tiles one section at a time, following the adhesive manufacturer's recommended working time.
Step 4: Use Tile Spacers
Getting consistent grout joints is essential for creating a seamless tile project and avoiding any lippage. Insert the tile spacers between each tile, and position each spacer at each corner where four tiles meet to maintain even spacing throughout the installation. The spacer size you choose will determine the width of your grout lines and will also allow for slight movement, helping to reduce the risk of cracking over time.
Step 5: Clean Away Excess Adhesive
As you work, remove any excess adhesive from the face of the tiles and between the joints using a damp sponge or cloth. Cleaning as you go prevents the adhesive from hardening on the tile surface and makes the final clean-up much easier!
Step 6: Allow The Adhesive To Fully Cure
Allow the adhesive to fully cure for the length of time that’s recommended on the manufacturer’s instructions. Avoid walking on the tiles, exposing them to moisture or applying pressure on them before everything has fully set.
Step 7: Apply The Grout
After the adhesive has completely cured, you can grout the tiles. Apply the grout evenly using a rubber grout float, working it into all of the joints. Once the grout begins to firm up, wipe away the excess with a damp sponge before allowing it to cure fully.
We have a full guide on how to grout tiles and apply adhesive, where you’ll be able to refer to this throughout your tiling project if you get stuck or if you’re unsure how to prepare for it.
51 Reviews

4.6 Rating 51 Reviews
The price of the tiles definitely beat competitors and was a speedy delivery. However, the delivery was of poor quality, resulting in many broken tiles due to poor packaging on the pallete and poor delivery to the door. I've since written to customer service to remedy the issue, and even after several days there has been no reply. I'm not sure the savings is worth the hassle.
3 months ago
Arrived early, no breakages and tiles look very smart on outside water feature.
3 months ago
Excellent transaction, tiles arrived in great condition, and driver wheeled them down the drive right to the front door, highly reccomended. Thanks.
3 months ago
Very quick delivery and beautiful tiles
4 months ago
Arrived quickly, no broken tiles well packed. All very simple
6 months ago
Amazing service. I ordered one box of tiles and 24 hours later it was Delivered in good condition to the other end of the country!
9 months ago
I needed these tiles with in two days, they arrived with in two days and are amazing quality, my client is over the moon with them, will be using online tile shop from now on
9 months ago
Bought some fantastic tiles for my kitchen delivery was prompt. There was a little hiccup with delivery but the company sorted it professionally and quickly love the tiles. Can’t wait to go back to choose some more for my bathroom. Great company really friendly customer service team only too happy to help.
9 months ago
Website worked well, great selection of tiles, ordering was easy and the speed of delivery amazed me! Well done
10 months ago
Very impressed with the service. We were left short of a specific tile when our bathroom supplier went bust. I found them on the Online Tile Shop's website, called them to check and received confirmation they had enough in stock. Delivery was quick and not expensive, and they kept in touch on the delivery progress. Would recommend.
11 months ago