Installing tiles in your home can completely transform the look and feel of your space. However, it's essential to ensure that the tiles are properly set and grouted to avoid any issues down the line. In this comprehensive guide, we will provide you with expert advice on grout and tile adhesive applications to help you achieve a durable and lasting finish when installing tiles in your home.

How To Apply Tile Adhesive

Before you can grout your tiles, you need to ensure that the tile adhesive has been applied correctly. Applying tile adhesive is a crucial step in the installation process, and it's essential to follow the right techniques to ensure a successful and long-lasting tile job.

Prepare the Surface

First and foremost, ensure that the surface you're working on is clean, dry, and free from any dirt, grease, or debris. If the surface is uneven, consider using a self-levelling compound to create a smooth, flat surface. Once the surface is ready, use a notched trowel to spread a thin layer of adhesive over a small area, typically about 2 to 3 square feet.

Comb the Adhesive

After spreading the adhesive, use the notched trowel to comb through it at a 45-degree angle. This step is essential as it creates ridges in the adhesive, allowing for better adhesion and helping to prevent air pockets from forming between the tile and the surface.

Check for Coverage

Always apply the adhesive to the wall evenly as this ensures better adhesion and helps fill any voids in the wall, providing a more stable and secure bond. If the coverage is incomplete, additional adhesive may need to be applied.

Apply the Tile

Once the adhesive is combed, work quickly and place the tile onto the adhesive-covered area. Apply firm pressure to the tile and twist it slightly to ensure that the adhesive ridges are fully embedded into the back of the tile. It's important to work in small sections and apply tiles within the time specified by the adhesive manufacturer.

Make Use Of Spacers

When installing tiles, it is crucial to leave proper spacing between them and this is where tile spacers come into play. Spacers are small, plastic or rubber crosses that are temporarily inserted between tiles during installation to maintain consistent grout lines.

Typically, spacers are used on both the floor and wall tile and the size of the spacer should match the desired grout line width. It is essential to position the spacers at every intersection of four tiles to ensure uniform spacing throughout. Furthermore, using spacers also contributes to the durability of the tiled surface, as consistent gaps provide room for flexibility, reducing the risk of tiles cracking or shifting over time.

hand placing spacer in tiles

Clean as You Go

As you work, be sure to clean any excess adhesive from the tile surface with a damp sponge or cloth. Wiping away excess adhesive as you go will make the final cleanup process much easier and prevent the adhesive from drying and becoming more difficult to remove.

Grout the Tiles

Once the tiles are set and the adhesive has cured according to the manufacturer's instructions, you can proceed with grouting the tiles. Refer to the specific grouting instructions for your chosen product, and ensure that the grout is applied evenly between the tiles and is wiped clean from the tile surface. Keep reading for a more in-depth explanation in regards to grouting tiles.

white bathroom with new tiles

Common Tile Adhesive Issues and How To Prevent Them

One of the primary reasons for tile adhesive failure is improper surface preparation. Before applying the adhesive, it is essential to ensure that the substrate (the surface onto which the tiles are being laid) is clean and free from dust, debris, and any contaminants that could interfere with the adhesive's ability to bond. It is also important to ensure that the substrate should be structurally sound, with no cracks or excessive movement that could compromise the integrity of the bond.

Another common cause of tile adhesive problems is excessive moisture. If the substrate contains too much moisture, it can prevent the adhesive from properly curing and bonding to the surface, potentially leading to tiles becoming loose. The excess moisture can cause the adhesive to remain in a semi-cured or soft state, preventing it from fully hardening and reaching its maximum strength. This can result in a weak bond between the tile and the substrate, making the tiles prone to lifting, cracking, or becoming loose over time.

The type of tile you choose can have a significant impact on the performance of the adhesive. Certain tiles, such as natural stone or porcelain, may require specialised adhesives. Using an adhesive that is not compatible with the tile material can lead to poor bonding, as the adhesive may not be able to create a strong enough bond with the tile's surface.

For instance, natural stone tiles may require an adhesive that can penetrate deeply into the tile's surface to create a strong bond. In general, it is best to use a modern, polymer-modified adhesive such as Tilemaster Adhesives' Magix, Setaflex and Ultimate ranges which are suitable for use with most types of natural stone.

How To Grout Tiles

Applying grout correctly is crucial for a long-lasting tile installation that looks great. Grout not only fills the spaces between tiles but also contributes to the overall appearance and durability of the installation. To achieve a professional-looking and durable tile installation, it is essential to follow the correct grout application process.

Curing the Tile Adhesive

Before applying grout, ensure the tile adhesive has fully cured, following the manufacturer's recommended drying time. Grout should never be applied to an uncured adhesive, as it can lead to the tiles loosening or shifting, causing cracks in the grout lines.

Preparing the Grout

Carefully follow the instructions on the grout packaging for proper mixing ratios and techniques. Mixing the grout correctly is essential for achieving the desired consistency.

Applying the Grout

Use a rubber grout float to evenly spread the grout over the tiles, working in small sections. Then, apply the grout in a diagonal direction across the tiles, forcing it into the joints at a 45-degree angle. This angle helps ensure full coverage and prevents the grout from being scraped out of the joints during application.

Work in Small Sections

Grout small areas at a time, as it can dry quickly. Avoid covering more than a few square feet at once to prevent the grout from drying too fast and becoming difficult to work with.

Clean the Excess Grout

Once the grout has been applied, use a damp sponge to wipe away any excess grout from the tile surfaces while the grout is still fresh. Apply a light mist of water to the grout lines and continue wiping with the sponge to create a smooth, even finish.

Removing The Grout Haze

Use a clean, dry cloth to buff and polish the tiles, removing any remaining grout haze. This step is crucial to achieve a clean, professional appearance.

By following these detailed steps and properly applying the grout, you will achieve a high-quality tile installation with well-filled grout joints and a clean overall appearance.

Common Tile Grout Issues and How To Prevent Them

Grout failure is a common issue that many homeowners face, and understanding the causes can help prevent this frustrating problem. One of the primary causes of grout failure is improper preparation and application. When grout is not mixed correctly or applied evenly, it can lead to weak spots and may ultimately fail. Additionally, inadequate curing time during installation can compromise the grout's strength. It's crucial to follow the manufacturer's guidelines for mixing and application, allowing sufficient time for the grout to set properly.

Another frequent culprit behind grout failure is water damage. Grout is porous, making it susceptible to water getting in. When exposed to prolonged moisture, especially in areas like bathrooms and kitchens, grout can weaken and crack over time. To prevent water-related grout failure, ensure proper sealing of grout lines, especially in high-moisture areas. Regular maintenance, such as fixing leaks promptly and using water-resistant grout, can significantly reduce the risk of water damage.

Inadequate cleaning practices can also contribute to grout failure. Over time, dirt, grime, and mould can accumulate on the grout surface, leading to discolouration and deterioration. But on the other hand, harsh cleaning chemicals can further weaken the grout. As such, it is essential to clean grout regularly with mild, pH-neutral cleaners and a soft brush and avoid using abrasive tools that may damage the grout's integrity.

In conclusion, grout failure is a prevalent issue with several underlying causes, primarily stemming from improper installation, water damage, and inadequate cleaning. Homeowners can protect their grout by following manufacturer guidelines during installation, ensuring proper sealing in moisture-prone areas, and adopting gentle cleaning practices.

The Online Tile Shop’s Tile Adhesives

The Online Tile Shop’s Tile Adhesives are available in various formulations to suit different tile types and substrates. Here are some of our popular options:

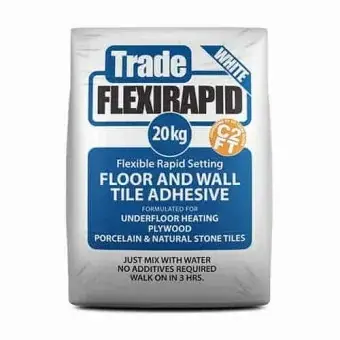
Trade FlexiRapid: This flexible adhesive is ideal for unstable substrates and offers excellent adhesion strength. It is suitable for a wide range of tile materials, including ceramic, porcelain, and natural stone.

Standard Set: The Standard Set adhesive provides a strong bond for large-format tiles. It is easy to apply and offers excellent workability.

Setaflex: Setaflex adhesive is specifically designed for natural stone installations. It offers exceptional bond strength and flexibility, ensuring the longevity of your natural stone tiles.

The Online Tile Shop’s Grouts

The Online Tile Shop’s Grout range includes options that are resistant to cracking, staining, and discolouration. Here are some of the options from our grout range.

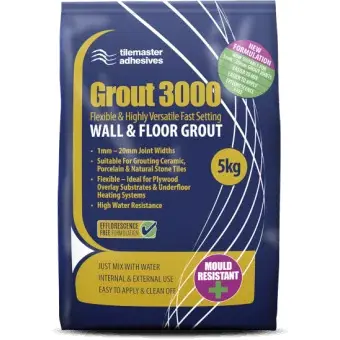
Grout 3000: Grout 3000 is a high-performance grout that resists cracking and provides a durable finish. It is available in a variety of colors to match your design preferences.

Coloured Grout: The coloured grout options from The Online Tile Shop allow you to add a touch of personality to your tile installations. With a range of vibrant colours to choose from, you can create stunning visual effects.

To enhance the durability and longevity of your grout, The Online Tile Shop also offers Primeplus, a protective sealer that guards against staining and discolouration caused by moisture. Applying Primeplus regularly can help maintain the beauty of your grout over time.

Get started on your brand new tile project today and create a space that truly reflects your style and personality.

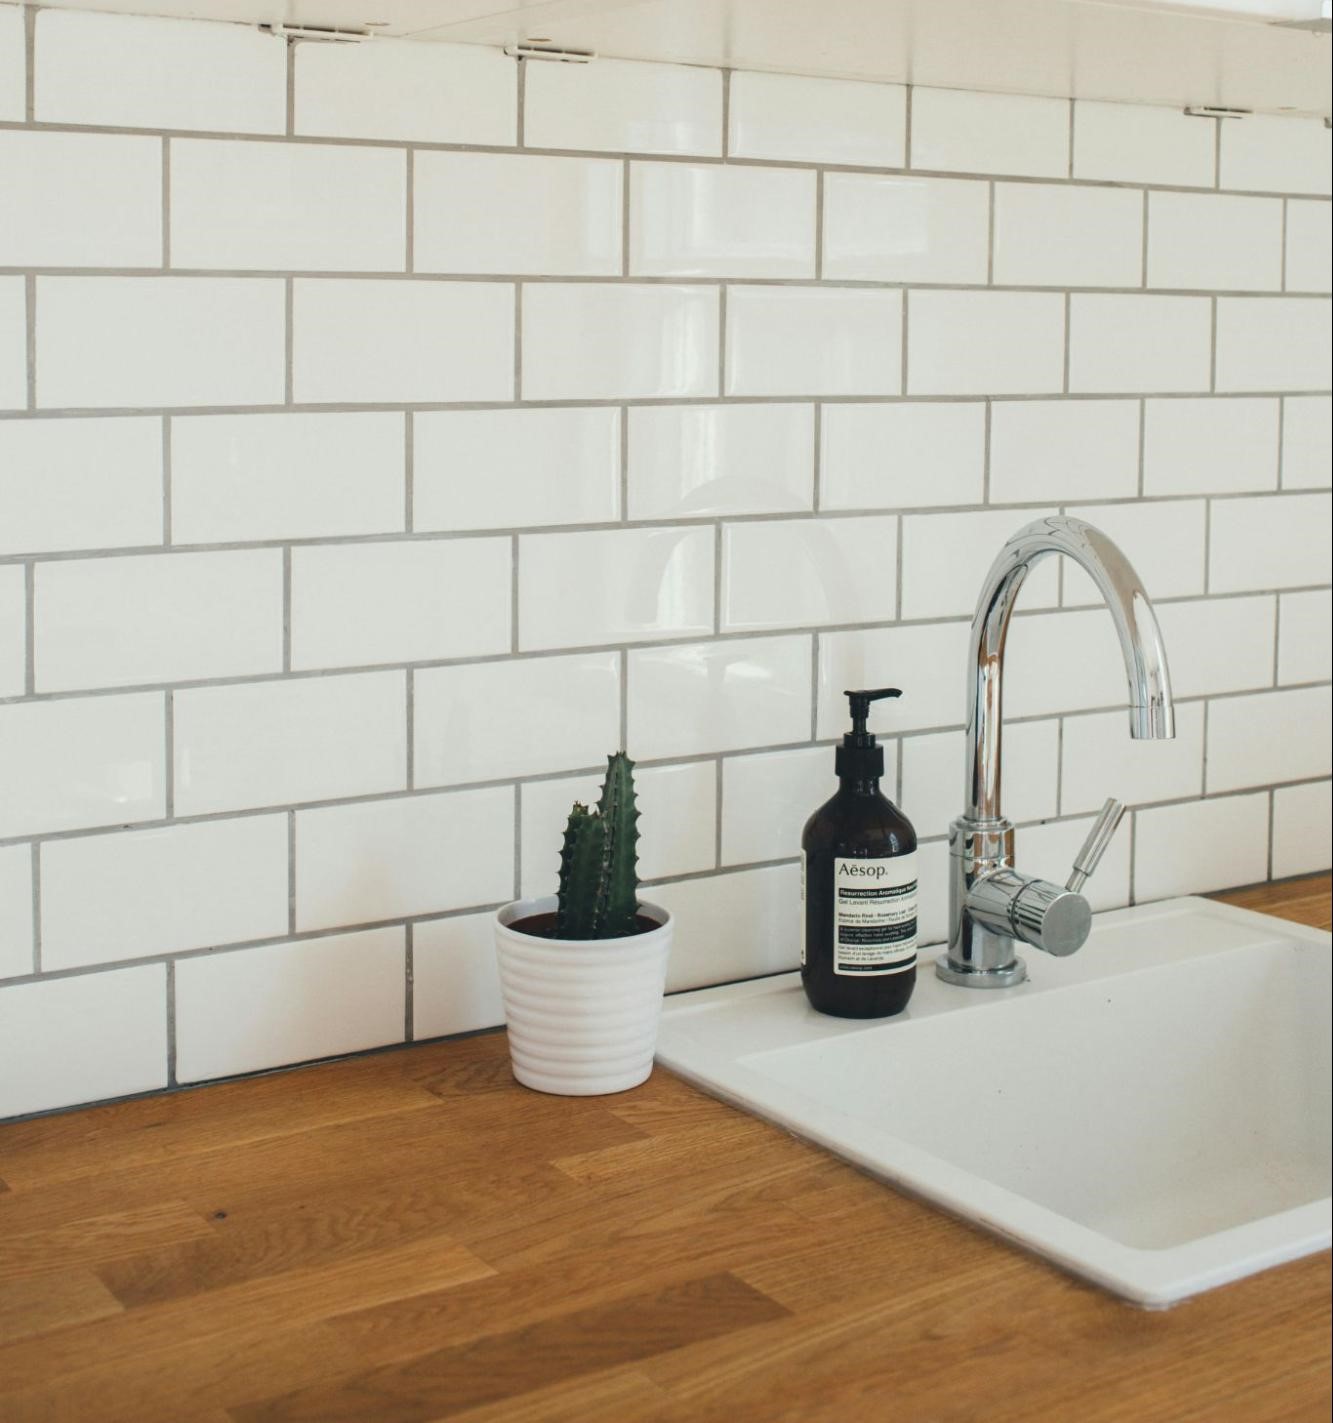
white grouted tiles in kitchen

45 Reviews

Reviewsio

4.6 Rating 45 Reviews

Joseph Kinchin

Verified Customer

I needed these tiles with in two days, they arrived with in two days and are amazing quality, my client is over the moon with them, will be using online tile shop from now on

4 days ago

Susan Cowle

Verified Customer

Bought some fantastic tiles for my kitchen delivery was prompt. There was a little hiccup with delivery but the company sorted it professionally and quickly love the tiles. Can’t wait to go back to choose some more for my bathroom. Great company really friendly customer service team only too happy to help.

4 days ago

Dean Collier

Verified Customer

Website worked well, great selection of tiles, ordering was easy and the speed of delivery amazed me! Well done

29 days ago

Anonymous

Verified Customer

Very impressed with the service. We were left short of a specific tile when our bathroom supplier went bust. I found them on the Online Tile Shop's website, called them to check and received confirmation they had enough in stock. Delivery was quick and not expensive, and they kept in touch on the delivery progress. Would recommend.

2 months ago

Simon

Verified Customer

Beautiful tiles that were shipped almost as soon as I ordered. Very happy with the quality. I was not at home for the initial delivery attempt (I expected them to take longer) but this was quickly rearranged for the following day. Great customer service. I would definitely order from here again.

2 months ago

Anonymous

Verified Customer

Easy to order. Quick delivery. Nothing broken. Tils are now up and look great.

2 months ago

test testing

Verified Customer

good product

4 months ago

Andrew King

Verified Customer

Unfortunately the sample tile has not been delivered as yet ! I’m not sure how long it takes but it was ordered a week ago.

4 months ago

Michelle Allan

Verified Customer

Absolutely first class customer service both online and in person. Delighted with the first set of tiles I purchased, so ordered a second batch of different tiles for another project. I had tiles left over from the first order, so travelled to the store to return and purchase the second order. The staff in store were a delight to deal with and nothing was too much bother. I'll definitely use again!

4 months ago

Anonymous

Verified Customer

Fully met expectations

5 months ago