Your cart
There are no more items in your cart


34 Reviews
4.6 Rating 34 Reviews
Quick and efficient
17 days ago
I ordered a tile saMple and was amazed to receive within 2 days. Efficient service thank you.
1 months ago
Excellent service, customer services were really helpful answering my order queries which culminated in a speedy delivery.
1 months ago
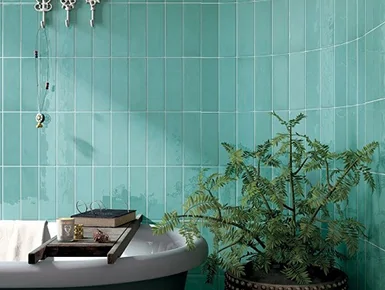
Received excellent service; they added some additional tiles on for me as I realised I hadn't ordered enough on the day they were due to be despatched. Very helpful staff, smooth delivery and delighted with the tiles. Would def recommend and will use them again. (Amazonia Jade Green 6.5x20cm Rectangular Gloss Ceramic Wall Tile)
2 months ago
|Excellent Service, tiles arrived very quickly and were well packed. Would highly recomemend this company.
4 months ago
Great tiles, very expensive delivery
4 months ago
Excellent service and I am thrilled with the tile you sent. I will be placing an order for more of these tiles to use as a splash back in a small kitchen .
4 months ago
Superb service and product
4 months ago
Very happy with these tiles. Arrived quickly and very well packaged.
5 months ago
Great price and fantastic service
5 months ago