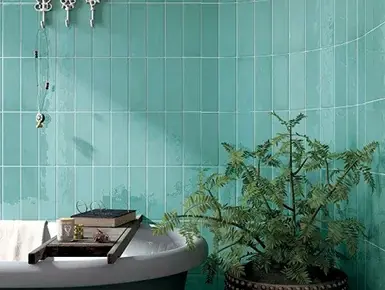
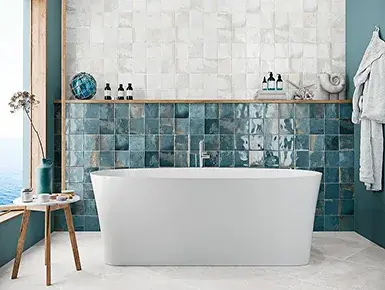
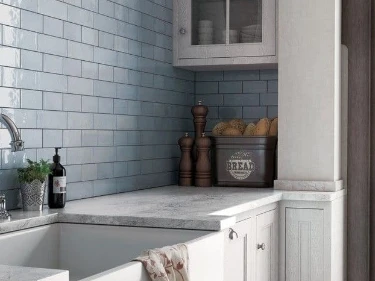
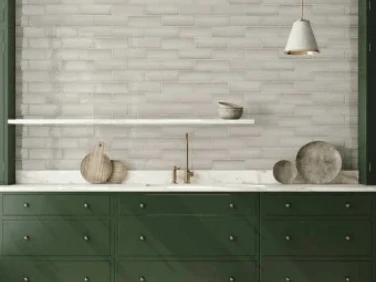
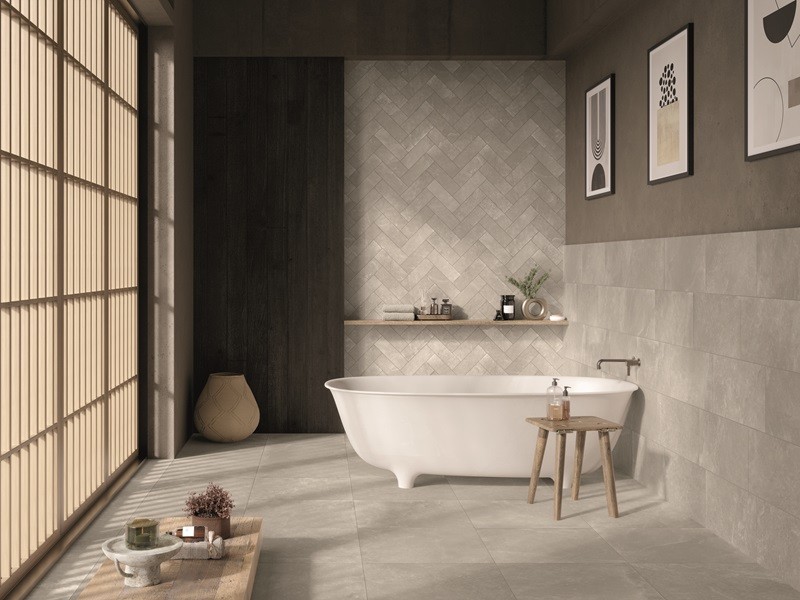
Whether you’ve moved into a new house and want to put your personal stamp on the new place or it’s time to refresh your existing bathroom look, choosing the right bathroom tile and laying it correctly can really help to transform the look and feel of your bathroom. 

Our ultimate guide is here to help you through the process of choosing the right bathroom tile, provide you with the help you need to lay your new bathroom tiles correctly and give you plenty of tips and tricks to help you keep your new bathroom tiles looking as good as new for as long as possible. 

What Tile Material Is The Best Choice For A Bathroom?

Bathrooms are naturally moist and humid areas of the house and as such, it’s important that the right tile material is chosen to ensure longevity. Whilst you can opt for natural tile materials such as limestone, marble and slate, these will require regular ongoing maintenance to ensure they continue to look their best. 

For example, they will need to be regularly resealed to protect them and ensure they remain ‘water-resistant’. They’re also much more susceptible to scratches and general wear and tear too. So, whilst they look fantastic, there’s more upkeep involved. 

When it comes to bathroom tiles, we recommend the following two tile materials due to their durability and suitability for the moist and humid environments bathrooms are…

Porcelain Tiles

It goes without saying that ideally you want a less porous and essentially water-resistant wall or floor tile in your bathroom. That way, they’re less likely to crack and damage over time, less likely to harbour mould growth and are easier to clean too. This makes porcelain tiles one of the best choices when it comes to bathroom tiles. 

Porcelain bathroom tiles boast superior water resistant properties, are really durable and resistant to damage such as cracks over time and their less-porous nature makes them really easy to clean and wipe down too. Plus, because they’re a great choice for bathrooms, there’s lots of beautiful designs, shapes and sizes to choose from too. 

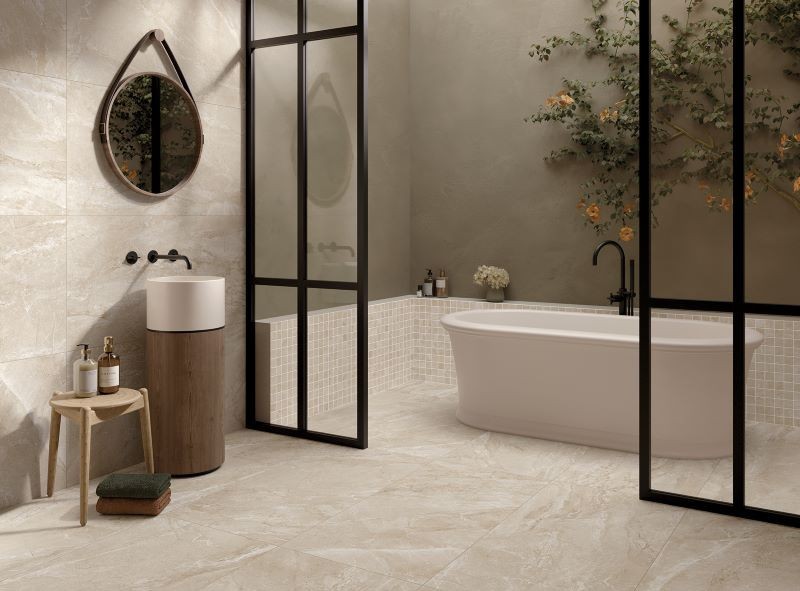
Alchemy Grey 30x60 Rectangular Matt Glazed Porcelain Wall & Floor Tile
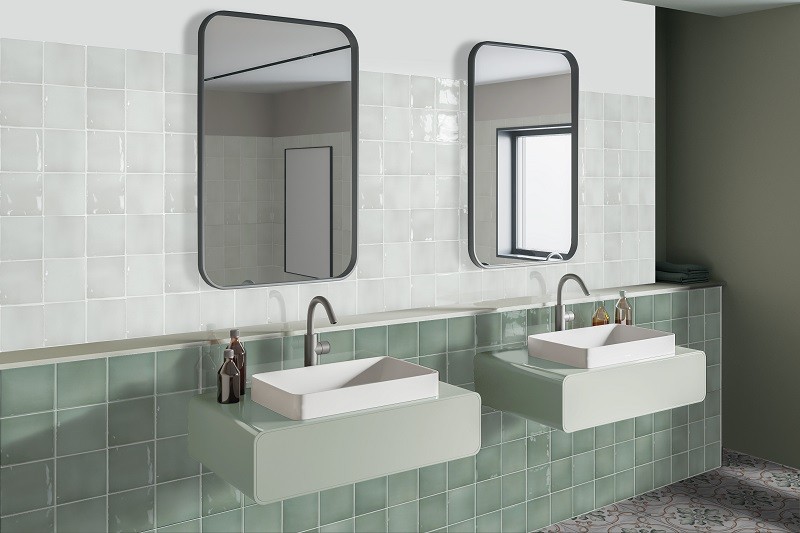
Borriana White 12.5X12.5cm Square Gloss Ceramic Wall Tile

Ceramic Tiles

Ceramic tiles are another really popular choice when it comes to tiling your bathroom walls and floors. Whilst they are slightly more porous than porcelain tiles, they still offer water-resistant properties, making them a great choice for bathroom splashbacks or feature walls. Much like porcelain, their durability makes them a great option for both bathroom floors and walls and they’re similarly really easy to clean too. As another really popular choice, there’s plenty of ceramic bathroom tiles to choose from in a variety of shapes, styles and sizes. 

Check out our more comprehensive comparison between the two tile materials to help you make a decision between the two tile types for your bathroom.

What Bathroom Tile Finish Should I Choose?

Both ceramic and porcelain tiles are available in either gloss or matt finishes and the type of finish you should opt for, depends on a variety of factors such as the look you’re going for and the location of the tile within the bathroom. 

Gloss Tiles

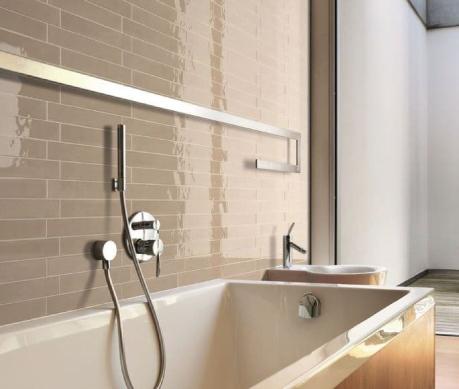
If you’re looking to create a bright, light bathroom space, gloss tiles can help you to achieve it. Their smooth, glossy surface helps to reflect light around the room and make your bathroom feel much more spacious than it maybe is. 

The reflective surface can also enhance the brightness of whatever colour tile you choose, making the tiles feel more vibrant, which can really help you to make a statement with your bathroom. However it must be noted that gloss tiles can be slippery when wet, which makes them potentially less suitable for bathroom floors or walk-in showers. 

The gloss finish can help to make your tiles even more water-resistant and the non-porous surface is easy to wipe down and clean too. This makes them a great choice for bathroom walls and splashbacks.

gloss tiles
Matt Bathroom Tiles

Matt Tiles

If it’s a more natural, organic look and feel you’re after, matt bathroom tiles may be the right choice for you. Their non-reflective surface provides a more muted though no less spectacular result, helping to create a calm, tranquil bathroom space. 

Matt tiles generally tend to be less slippery than gloss tiles too, making them a great choice for bathroom floors and walk-in showers. They also tend to be more durable than gloss finish tiles as they’re more resistant to scratches, wear and tear and the surface can help to hide any imperfections. 

Their finish is less susceptible to watermarks and fingerprints too, so they don’t necessarily need to be cleaned as often. However, due to their ‘rougher’ surface they may be harder to clean than gloss tiles as they’ll hang onto dirt and grime more easily. 

What Tile Sizes & Shapes Are Available?

There are many bathroom tile shapes and sizes available, from traditional metro tiles that offer timeless appeal and kit-kat tiles that make the installation process quicker and easier to square and rectangular tiles that can be laid in a variety of different tile patterns such as herringbone, stepladder and basket weave. 

Different tile sizes of the same shape can provide vastly different final effects too. For example, square tiles are commonly available in sizes ranging from 2 to 24 inches, however when it comes to square mosaic tiles, they can be found to total no more than half an inch! Whilst square floor tiles can be as large as 40 inches. So as you can imagine, the look, feel and final result of either tile when laid is vastly different. 

But there’s nothing stopping you from combining a variety of different sizes and even shapes to either create a mosaic style or use smaller tiles to frame larger tiles. Playing around with different colours here can have a really striking effect too. 

The beauty of bathroom tiles is that no matter the shape or size you choose, there’s still plenty of tile layout options to choose from. Tiles are very versatile and there’s plenty of possibilities. 

How To Tile A Bathroom?

Whilst tiling a bathroom correctly can take some time, it’s not necessarily a difficult process as long as you prepare efficiently and follow each step closely and correctly. Plus, by partaking in a little bit of DIY you can save yourself some money and have the satisfaction of the fact you tiled your bathroom yourself too!

Step 1: Preparation

You know the famous saying, ‘By failing to prepare, you’re preparing to fail’ and whilst Benjamin Franklin wasn’t talking about tiling your bathroom, the sentiment rings true here too. If you don’t do your research and either hire or buy all the right tools and equipment you need, you won’t be able to tile your bathroom correctly. 

You’ll need a variety of tools including a tile cutter, a grout float, a notched trowel, tile spacers, tape measure, level, rubber mallet and much more. As for the materials required, you’ll need your chosen bathroom tiles, tile adhesive, grout, sealant and cleaning materials. By ensuring you have everything you need from the outset, you’ll prevent any last minute trips to the hardware store whilst installing your tiles. 

Step 2: Plan Your Tile Layout

Once you’ve chosen your tile layout, it’s important to lay a few tiles out in the pattern on the floor in your home, to help you visualise it and understand how each tile will be laid in relation to one another. This will also help you to determine whether any tiles need to be cut before being installed. 

It’s important to measure the space where your tiles will be laid and jot these measurements down too, so you know how many tiles will be required for each area of the wall or floor you’re tiling.

Step 3: Prepare The Area

This is a very important step to ensure your tiles will adhere to your wall or floor correctly and stay put for many years to come. Cleaning the area completely is really important, as any dust or debris remaining on the surface can impact the integrity of your tiling.

If you’re tiling over drywall, especially in a bathroom, it’s worth considering and investing in installing a tile backer board which will give your surface a smooth, moisture free surface for the tiles to adhere to. Before tiling it’s also important to take your level and use it to draw straight lines or mark out where your tiles will be positioned to ensure they’re installed either straight or exactly how you intended. 

Step 4: Laying Your Tiles

Now for the really fun part, laying your tiles. Grab your notched trowel and apply a thin layer of adhesive to the area where you’re installing your tile. Make sure you start from the wall or floor centre and work your way to the edges. Then as you lay each tile down, be sure to use tile spacers to evenly space each tile out, frequently checking that everything’s being installed evenly. 

Once you reach the edges, you’ll probably need to cut tiles to ensure they fit correctly. Measure the area where each tile will be placed correctly and then use your tile cutter to cut each tile accordingly. If the cut edges are jagged or uneven, use a tile file to smooth them out. 

Step 5: Grouting Your Tiles

Once all your tiles are laid and the adhesive has set, it’s time to grout your tiles. Make sure you mix the grout per the manufacturer’s instructions and then use your grout float to spread it over the tiles, ensuring to push it into each of the gaps. When scraping the grout off the surface of the tiles, hold your grout float at a 45 degree angle, which will ensure uniform filling and prevent the excess grout from making a mess. 

For a more in-depth step by step guide and tips on some finishing touches you can apply to extend the lifespan of your tiles, check out our guide on how to tile a bathroom like a pro

How To Clean Bathroom Tiles?

Keeping your bathroom tiles nice and clean is important to ensure their longevity and it helps to prevent damage to them and any mould build up too. Each tile type has a different cleaning technique that needs to be followed to ensure you get them sparkling clean and don’t damage them in the process. 

For example, matt tiles are more susceptible to damage when cleaning, so you want to avoid any harsh chemicals. But at the same time, due to their textured surface, they can be harder to clean than gloss tiles, so using the correct tool for the job is important. As is not using too much water due to their porous nature. 

So cleaning your bathroom tiles isn’t as simple as grabbing some bleach or cleaning spray and a cloth and cleaning away, there’s some slight differences depending on the type of tile you have. 

As for cleaning the grout in-between each of your tiles and any sealant present, it’s also important to follow certain techniques and use certain cleaning solutions. For grout, we recommend using baking soda or powder mixed with water to create a cleaning paste. Then grab an old toothbrush and use it to apply the mixture to the grout. Leave it to sit for over an hour and then clean it off with water, making sure to wipe away any residue with a clean cloth. 

For sealant, your best bet is to use a specialist mould and mildew cleaner as these are specially formulated to clean away the type of ‘dirt’ and grime you’re likely to find on your sealant. 

For more in-depth cleaning tips when it comes to your tiles, grout and sealant, our cleaning guide has everything you need. 

how to clean bathroom tiles

How To Regrout Bathroom Tiles?

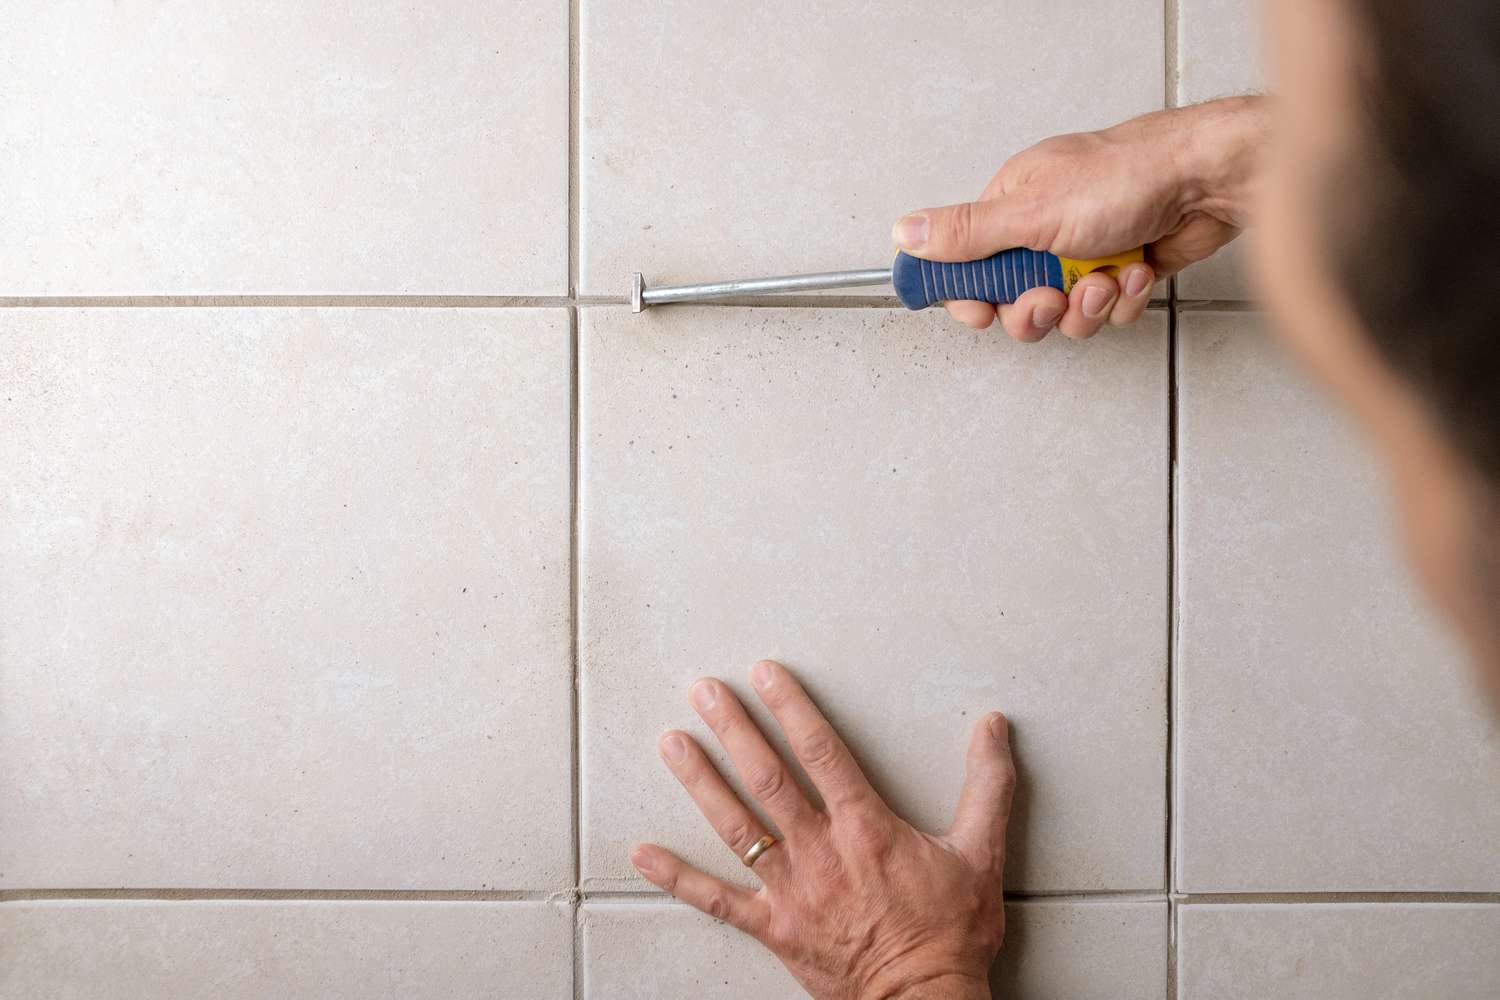
If your grout is now looking a little worse for wear and you’d like to bring your bathroom walls or floor back to life, it may be time to re-grout your tiles. If so, the first step is to remove all the old grout and to do this you’ll need either a grout rake or an oscillating multi-tool. Make sure to open a window and wear protective glasses and a mask when doing so. 

If you’re using a grout rake to remove the old grout, hold it firmly and guide it along each of the grout lines. You’ll need to press hard enough to break the grout and start removing it. The teeth on the rake only face one direction so there’s no need to move it back and forth, just press and move it in one direction. 

If using an oscillating multi-tool, you need to be more careful as it’s easier to damage the tiles themselves. However it’s also much easier to remove the grout this way, especially when it comes to large tiled areas. Simply hold the tool firmly and slowly glide it across each of the grout lines, letting the tool do the work. 

Once all the grout has been removed, simply clean the area with a damp sponge, then leave the area to dry before following the steps in our guide to grout your tiles

How To Remove Bathroom Tiles?

If it’s a complete bathroom transformation you’re looking for, you’ll likely want to remove any existing bathroom tiles. The first step is to remove all the grout in-between your tiles. To do so, simply follow the steps outlined in the point above. If you’re only removing a few tiles, take extra care not to damage any tiles that are staying put. 

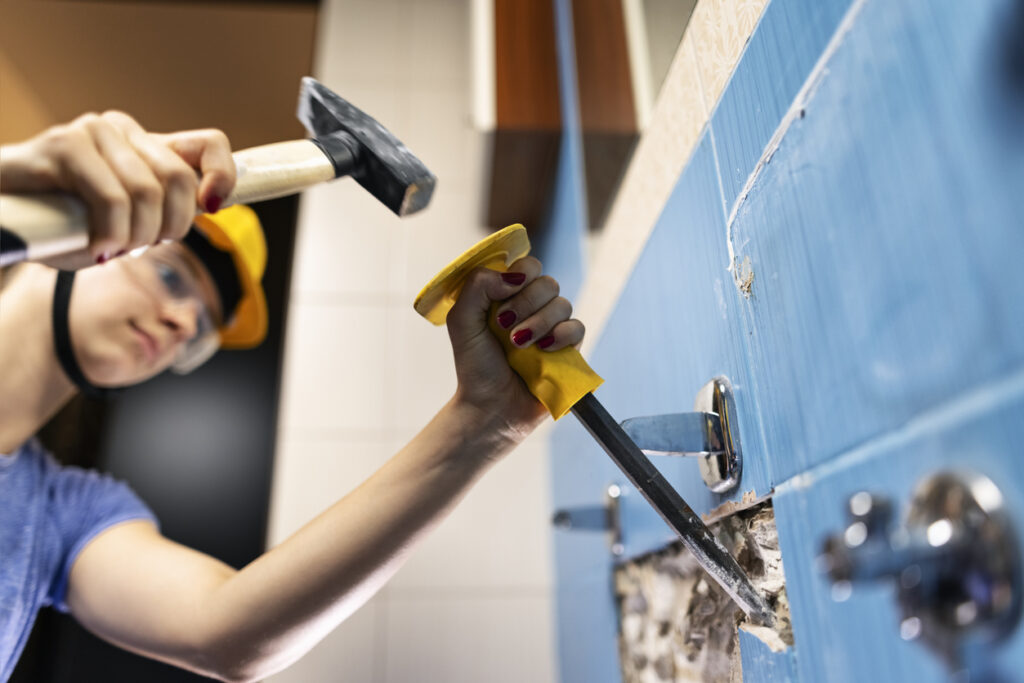
Once all the grout surrounding the tile has been removed, you should be able to push your chisel into the gap between the wall and the tile. If it’s not quite going in, you may need to use a hammer to gently tap on the chisel handle to help it slide in behind the tile. 

Once your chisel’s underneath the tile, you’ll want to gently pry it off the wall. Take care here as the tile could shatter, which is completely expected, but this is why it’s important to wear protective gear such as glasses. If the tile isn’t budging, you may need to use your hammer to tap the chisel handle again to push it even further underneath the tile. If you’re removing large tiles, you may need to slide your chisel in behind each tile in multiple places around the perimeter of the tile to loosen off the adhesive across the back of the tile. 

How To Cover Bathroom Tiles Without Removing Them?

If you don’t want to go through the time consuming process of removing the existing tiles in your bathroom, there are a few other options on the table. 

First of all, you could tile over the existing bathroom tiles. If you think the existing tiles have been installed correctly and they’re secure on the wall, they should be able to support your newly laid tiles on top of them too. Of course, it’s quite hard to determine that, so you do run the risk of everything coming off the wall at some point, so it’s potentially a costly mistake. 

Another alternative is to invest in wall panels that are placed over the existing bathroom tiles. These waterproof panels fit together seamlessly and are often available in designs that mimic tile patterns too. Whilst these are easy to install and clean, we feel there’s no substitute for the real thing when it comes to bathroom tiles. 

Thirdly, you could paint the bathroom tiles to hopefully bring them back to life. However it’s important that you clean and prepare the surface first, then apply a primer which will help the paint to stick to the tiles before using a matt or gloss paint to cover your tiles. 

It’s important to use paint specifically formulated to be used in humid environments like bathrooms. The last thing you want is the paint running off, peeling or flaking because it’s not suitable for the bathroom. 

Transform Your Bathroom Today

There’s a lot of steps involved when looking to tile your bathroom, from choosing the right size, shape and colour of your tile and choosing a layout to installing the tiles themselves and keeping them sparkly and clean. Hopefully our guide has helped you to consider the different steps involved and provided you with information that helps you to transform your bathroom’s look and feel. If you do have any more questions, please feel free to contact our helpful team or check out our blog for more helpful guides, hints and tips.  

51 Reviews

Reviewsio

4.6 Rating 51 Reviews

Anonymous

Verified Customer

The price of the tiles definitely beat competitors and was a speedy delivery. However, the delivery was of poor quality, resulting in many broken tiles due to poor packaging on the pallete and poor delivery to the door. I've since written to customer service to remedy the issue, and even after several days there has been no reply. I'm not sure the savings is worth the hassle.

2 months ago

Kay Hardaway

Verified Customer

Arrived early, no breakages and tiles look very smart on outside water feature.

2 months ago

James Silcock

Verified Customer

Excellent transaction, tiles arrived in great condition, and driver wheeled them down the drive right to the front door, highly reccomended. Thanks.

2 months ago

Angela Lewis

Verified Customer

Very quick delivery and beautiful tiles

2 months ago

Lindsey Knight

Verified Customer

Arrived quickly, no broken tiles well packed. All very simple

4 months ago

Brian Grimwood

Verified Customer

Amazing service. I ordered one box of tiles and 24 hours later it was Delivered in good condition to the other end of the country!

7 months ago

Joseph Kinchin

Verified Customer

I needed these tiles with in two days, they arrived with in two days and are amazing quality, my client is over the moon with them, will be using online tile shop from now on

7 months ago

Susan Cowle

Verified Customer

Bought some fantastic tiles for my kitchen delivery was prompt. There was a little hiccup with delivery but the company sorted it professionally and quickly love the tiles. Can’t wait to go back to choose some more for my bathroom. Great company really friendly customer service team only too happy to help.

7 months ago

Dean Collier

Verified Customer

Website worked well, great selection of tiles, ordering was easy and the speed of delivery amazed me! Well done

8 months ago

Anonymous

Verified Customer

Very impressed with the service. We were left short of a specific tile when our bathroom supplier went bust. I found them on the Online Tile Shop's website, called them to check and received confirmation they had enough in stock. Delivery was quick and not expensive, and they kept in touch on the delivery progress. Would recommend.

10 months ago