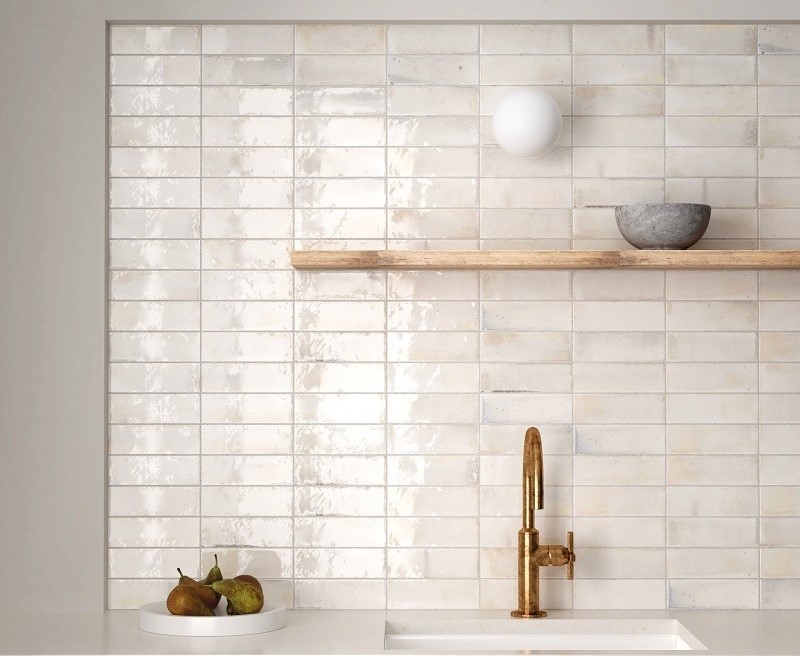
When people think about tiling, they often just look at what they can see—the colors, patterns, and textures that will make their space look good. But the stuff you can't see, like adhesives and grouts, has a big impact on how well any tiling project turns out. These hidden helpers keep your tiled walls and floors looking great. They give the strength and support to hold everything in place and make sure the final product looks clean well-done, and long-lasting. If you don't use the right adhesive even tiles that look perfect can move, break, or come off as time goes by. Grout does more than just fill the spaces between tiles; it keeps moisture out, makes the whole installation stronger, and even adds to how it looks in the end.
Picking the right adhesives and grouts isn't just a technical choice. It's a key step to make sure your tiling project lasts. Different tiles need different types of adhesives. What works for ceramic tiles in a quiet area might not fit porcelain in a kitchen or bathroom. Grout choice should think about things like tile size how wide the joints are, and where the tiles will be. If you pick the wrong products, it can lead to early wear, stains, and even costly fixes later. But if you choose well from the start, you'll get a perfect finish and less upkeep over time.
This guide shows you all you need to know about adhesives and grouts for your tiling project. We'll explain the different types of tile adhesives and grouts, help you pick the right ones for your needs, and point out common mistakes to steer clear of. By the end, you'll understand the products available how to use them well, and how these key elements will help create a professional and long-lasting result in your home or project.
Choosing the Right Grout: What You Need to Know
When it comes to tiling, the importance of grout often gets overlooked. Grout is more than just a filler between tiles—it plays a crucial role in keeping tiles secure, protecting them from moisture, and enhancing the overall look of your project. Choosing the right grout is key to ensuring a long-lasting, professional finish that complements your design and stands up to daily wear and tear. Whether you’re tiling a kitchen backsplash, a bathroom floor, or even an outdoor patio, grout choice is an essential decision that shouldn't be rushed.
What is Tile Grout?
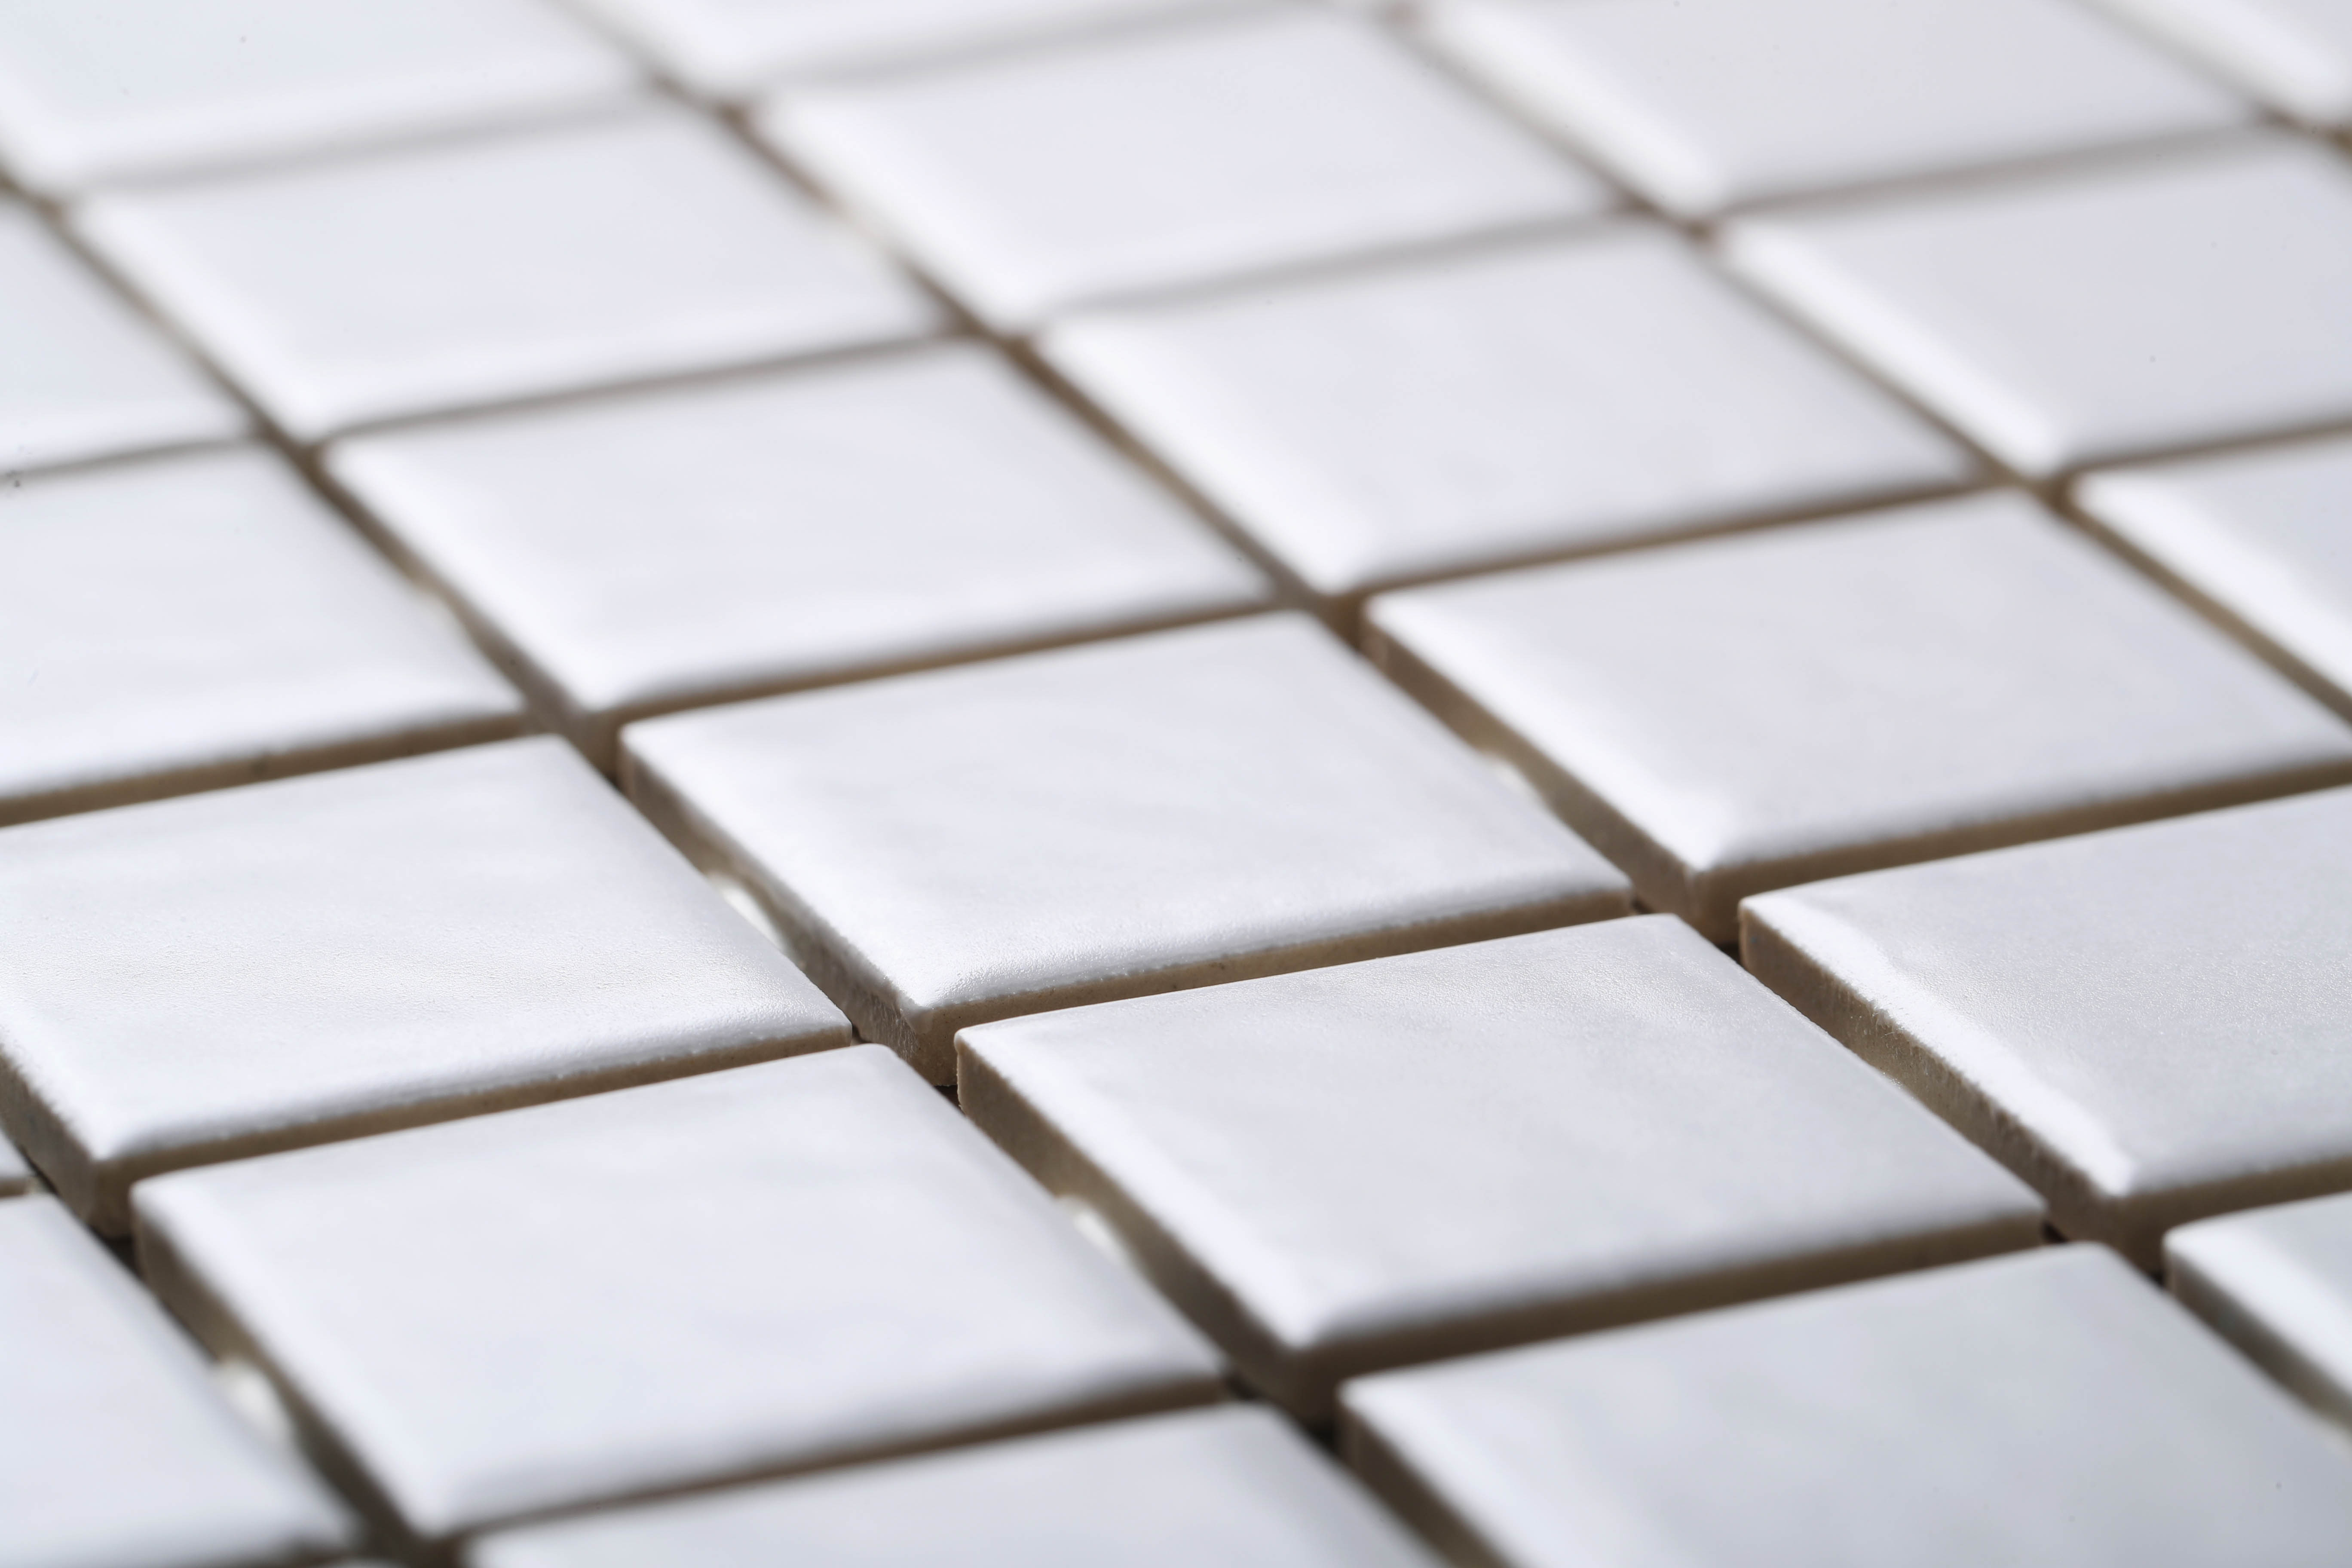
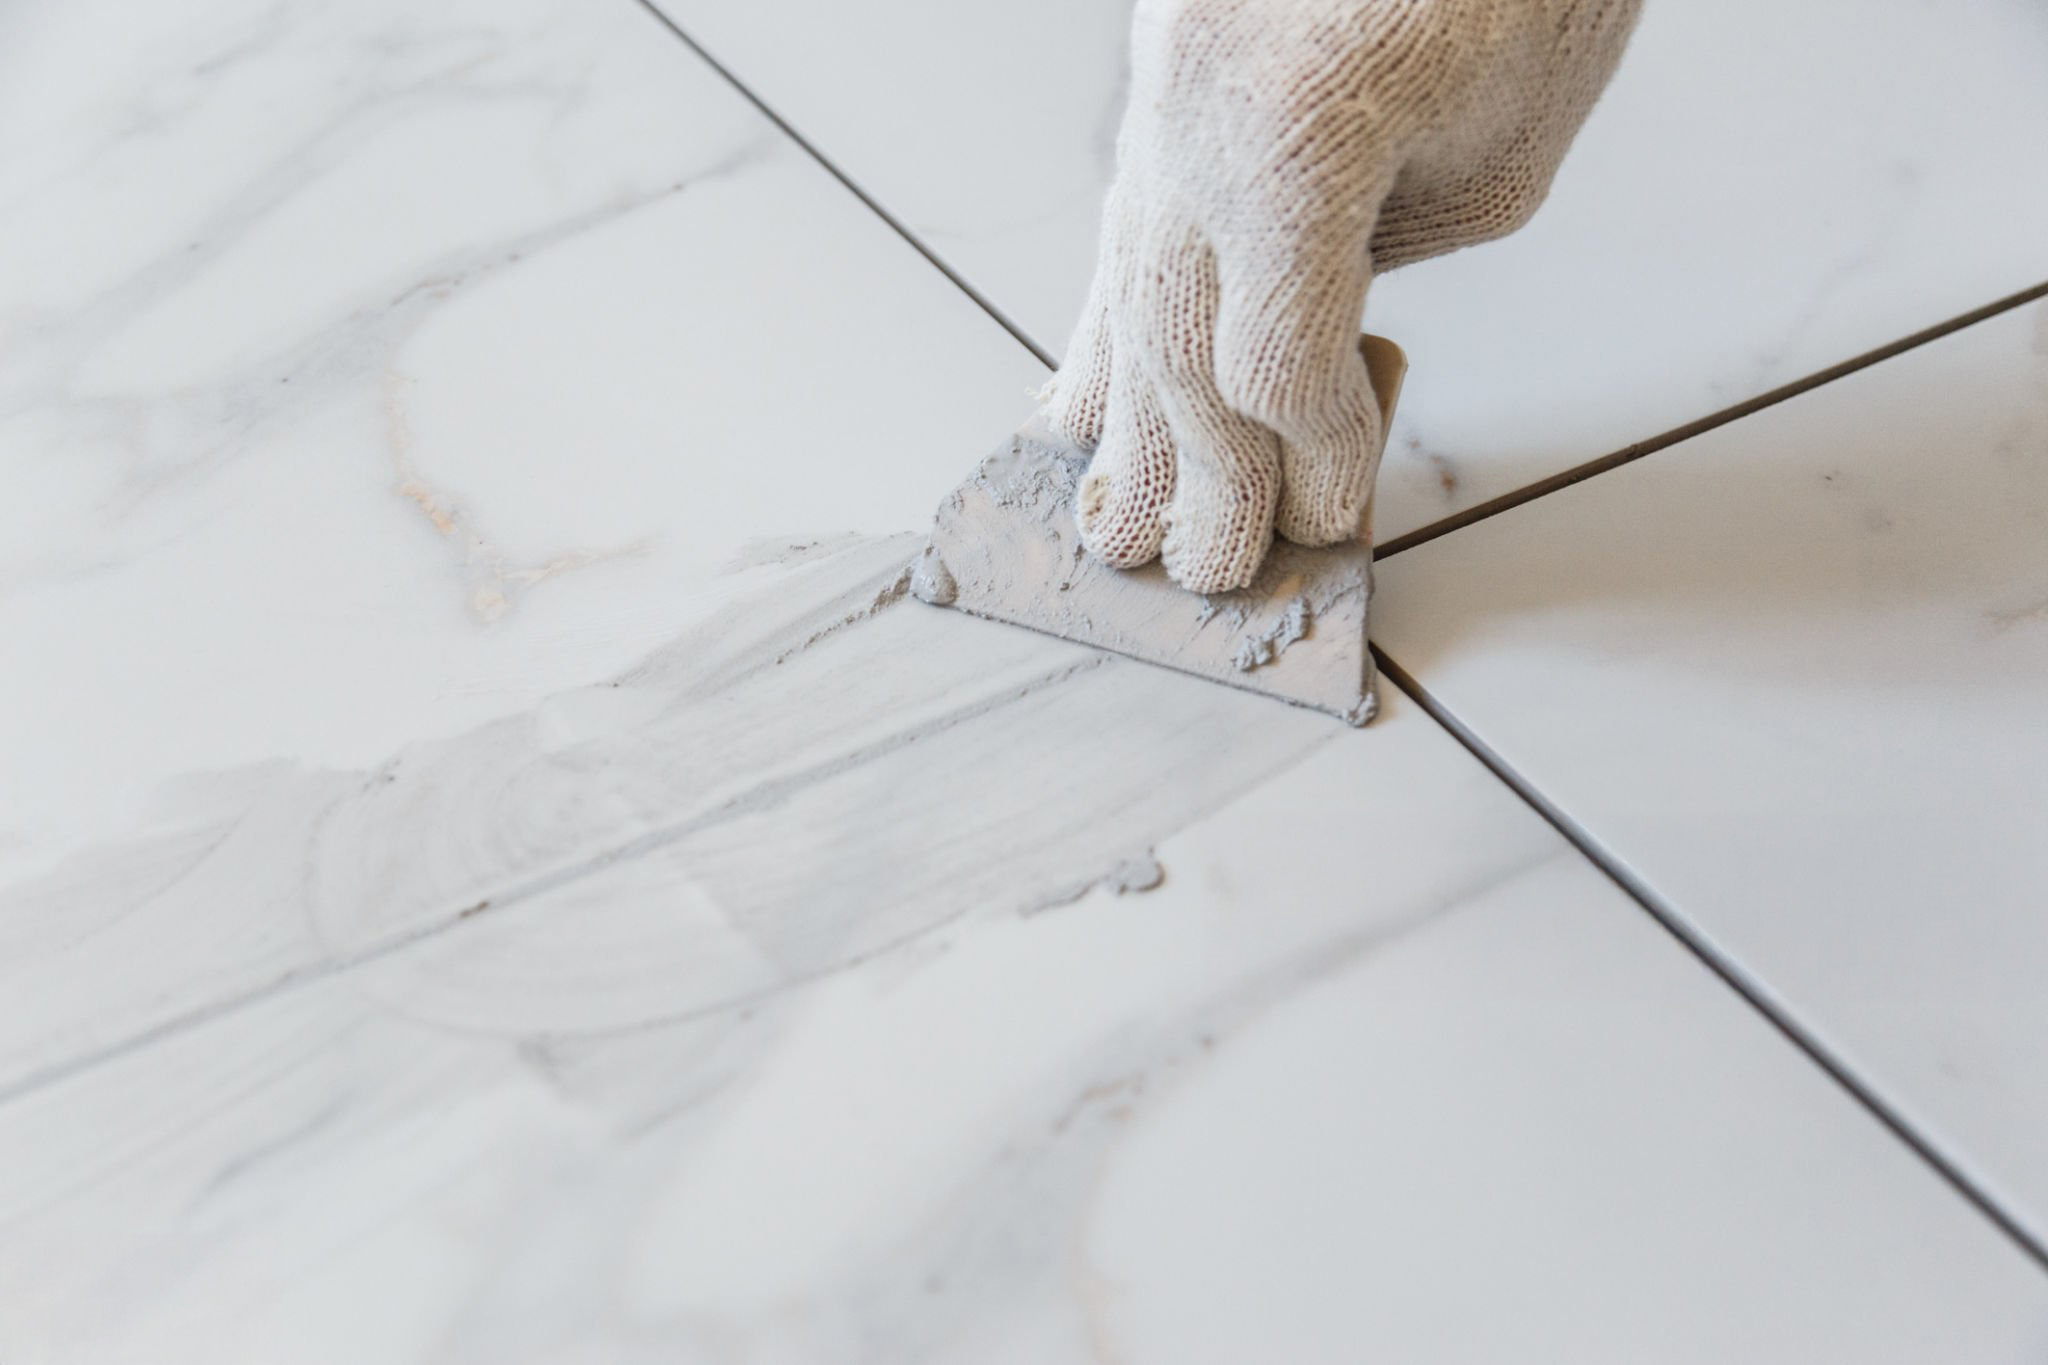
Grout may not be the most obvious consideration when planning a tiling project, but it can have a considerable effect on both the performance and appearance of your tiles. Grout is at its basic a cement-like product that fills in the gaps between your tiles. It holds them together, keeping them stable and preventing them from moving in, which is critical if you want a tiled area that’s durable and long-lasting. But grout isn’t only there to keep tiles in place—it’s also meant to keep dirt, moisture and gunk from seeping into those little spaces between tiles.
Grout, too, factors into what your finished tile project looks like. It may be a small detail, but the colour and type of grout you choose can really alter the overall feel of your space. For instance, if you use a grout colour similar to your tiles, you’ll achieve a smooth, continuous look, which can be nice for helping a room feel cohesive and a little bigger. Alternatively, a contrasting grout colour can deliver a dramatic graphic effect, accentuating every tile.
The type of grout used is important as well. There are several different kinds of grout, each of which has its strengths based on where it’s being applied. Regular cement grout works well for most indoor projects, but if you’re putting together a space with a lot of moisture — such as a bathroom or kitchen — consider using an epoxy grout. Epoxy is more resistant to water, stains, and some other chemicals, and is therefore an ideal choice for high-traffic or wet areas. It’s also extremely durable and doesn’t require sealing, whereas something like cement grout can call for a little more upkeep to keep it looking fresh through the years. Even with cement grouts, you will find formulations that are highly resistant to stains and/or mold, which helps to keep your tiling hassle-free.
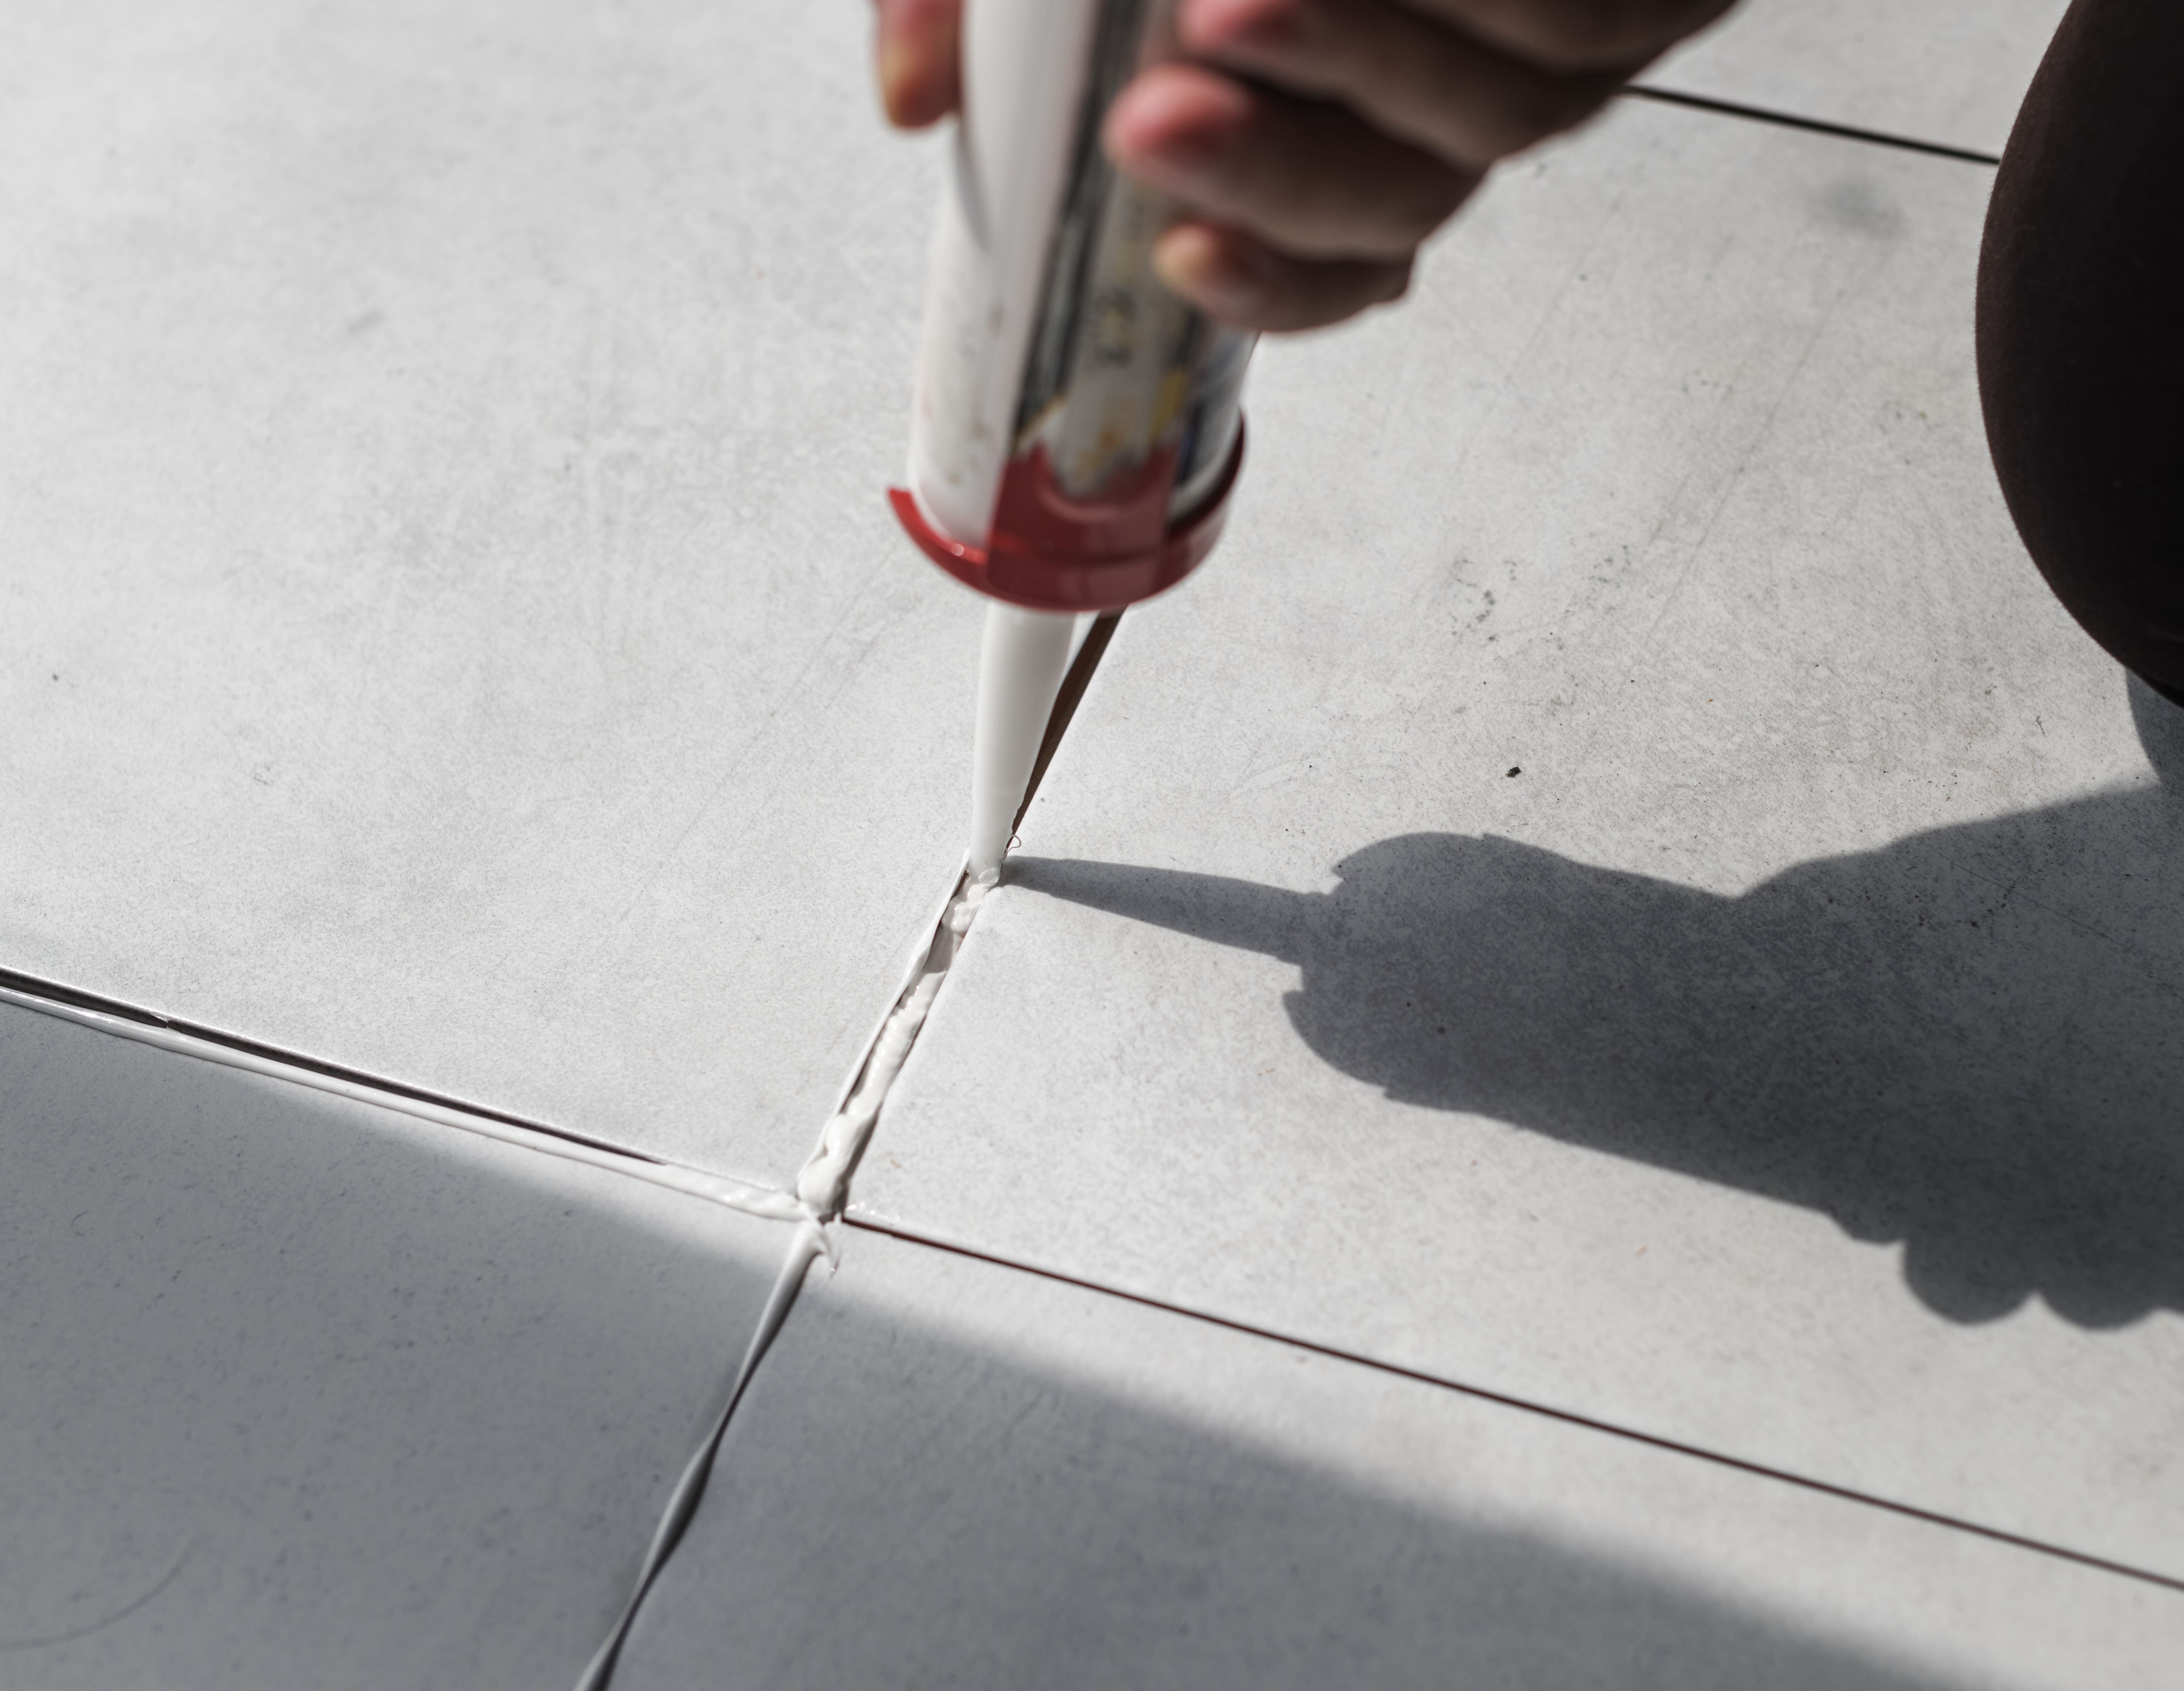
What Are The Different Types Of Grout & How Can I Use Them?
There are several types of grout available, each with its unique properties and best-use scenarios. Understanding the differences can help you choose the right one for your specific tiling job.
Cement-Based Grout
Cement-based grout is the most common grout for residential tiling projects. It is easy to work with and great for general applications like bathrooms, kitchens, and living spaces. Its primary benefit is versatility — it works for many different tile types and is relatively easy to apply. But it’s not as waterproof as other options, so it may need sealing in moisture-rich places such as showers.
Epoxy Grout
If you’re tiling a bathroom, kitchen, or another area exposed to a lot of moisture, epoxy grout is your best bet. It’s incredibly durable, stain-resistant, and won’t crack or shrink like cement-based grout can. Epoxy grout’s water resistance makes it a popular choice for wet rooms or outdoor areas, though it can be a little trickier to apply due to its quicker setting time.
Furan Grout
Furan grout is usually used in industrial or commercial projects where maximum strength and chemical resistance are needed. It’s extremely durable and water-resistant but also significantly more complicated to apply, making it less prevalent for most home projects. Furan grout is usually excessive for residential use unless you’re working with heavy-duty tiling in high-traffic or industrial settings.
Sanded Grout
Sanded grout is made for strength and used in grout joints wider than 0.3 cm. This variant of grout features fine grains of sand that provide strength and help to avert shrinkage in areas where larger gaps at the corners form between tiles. Because of its extra strength, it’s particularly well-suited to floors and high-traffic areas, where everyday wear can cause cracking. The coarser texture of sanded grout can cause some abrasion, so it’s not generally advised for delicate or polished tiles. However, it’s a perfect fit for textured surfaces or matte finishes, as it gives long-lasting support.
Acrylic Grout
Acrylic grout is considered more flexible and water-resistant than conventional grout, making it ideal for areas occasionally exposed to moisture, including kitchen backsplashes, shower walls, and laundry rooms. Its formulation allows for minor expansion and contraction, rendering it resistant to cracking (particularly in places where temperature or humidity changes frequently). Acrylic grout is usually pre-mixed, which makes it very convenient and straightforward to use—there's no annoying mixing involved. This immediacy can be particularly useful for do-it-yourself projects, streamlining the application process.
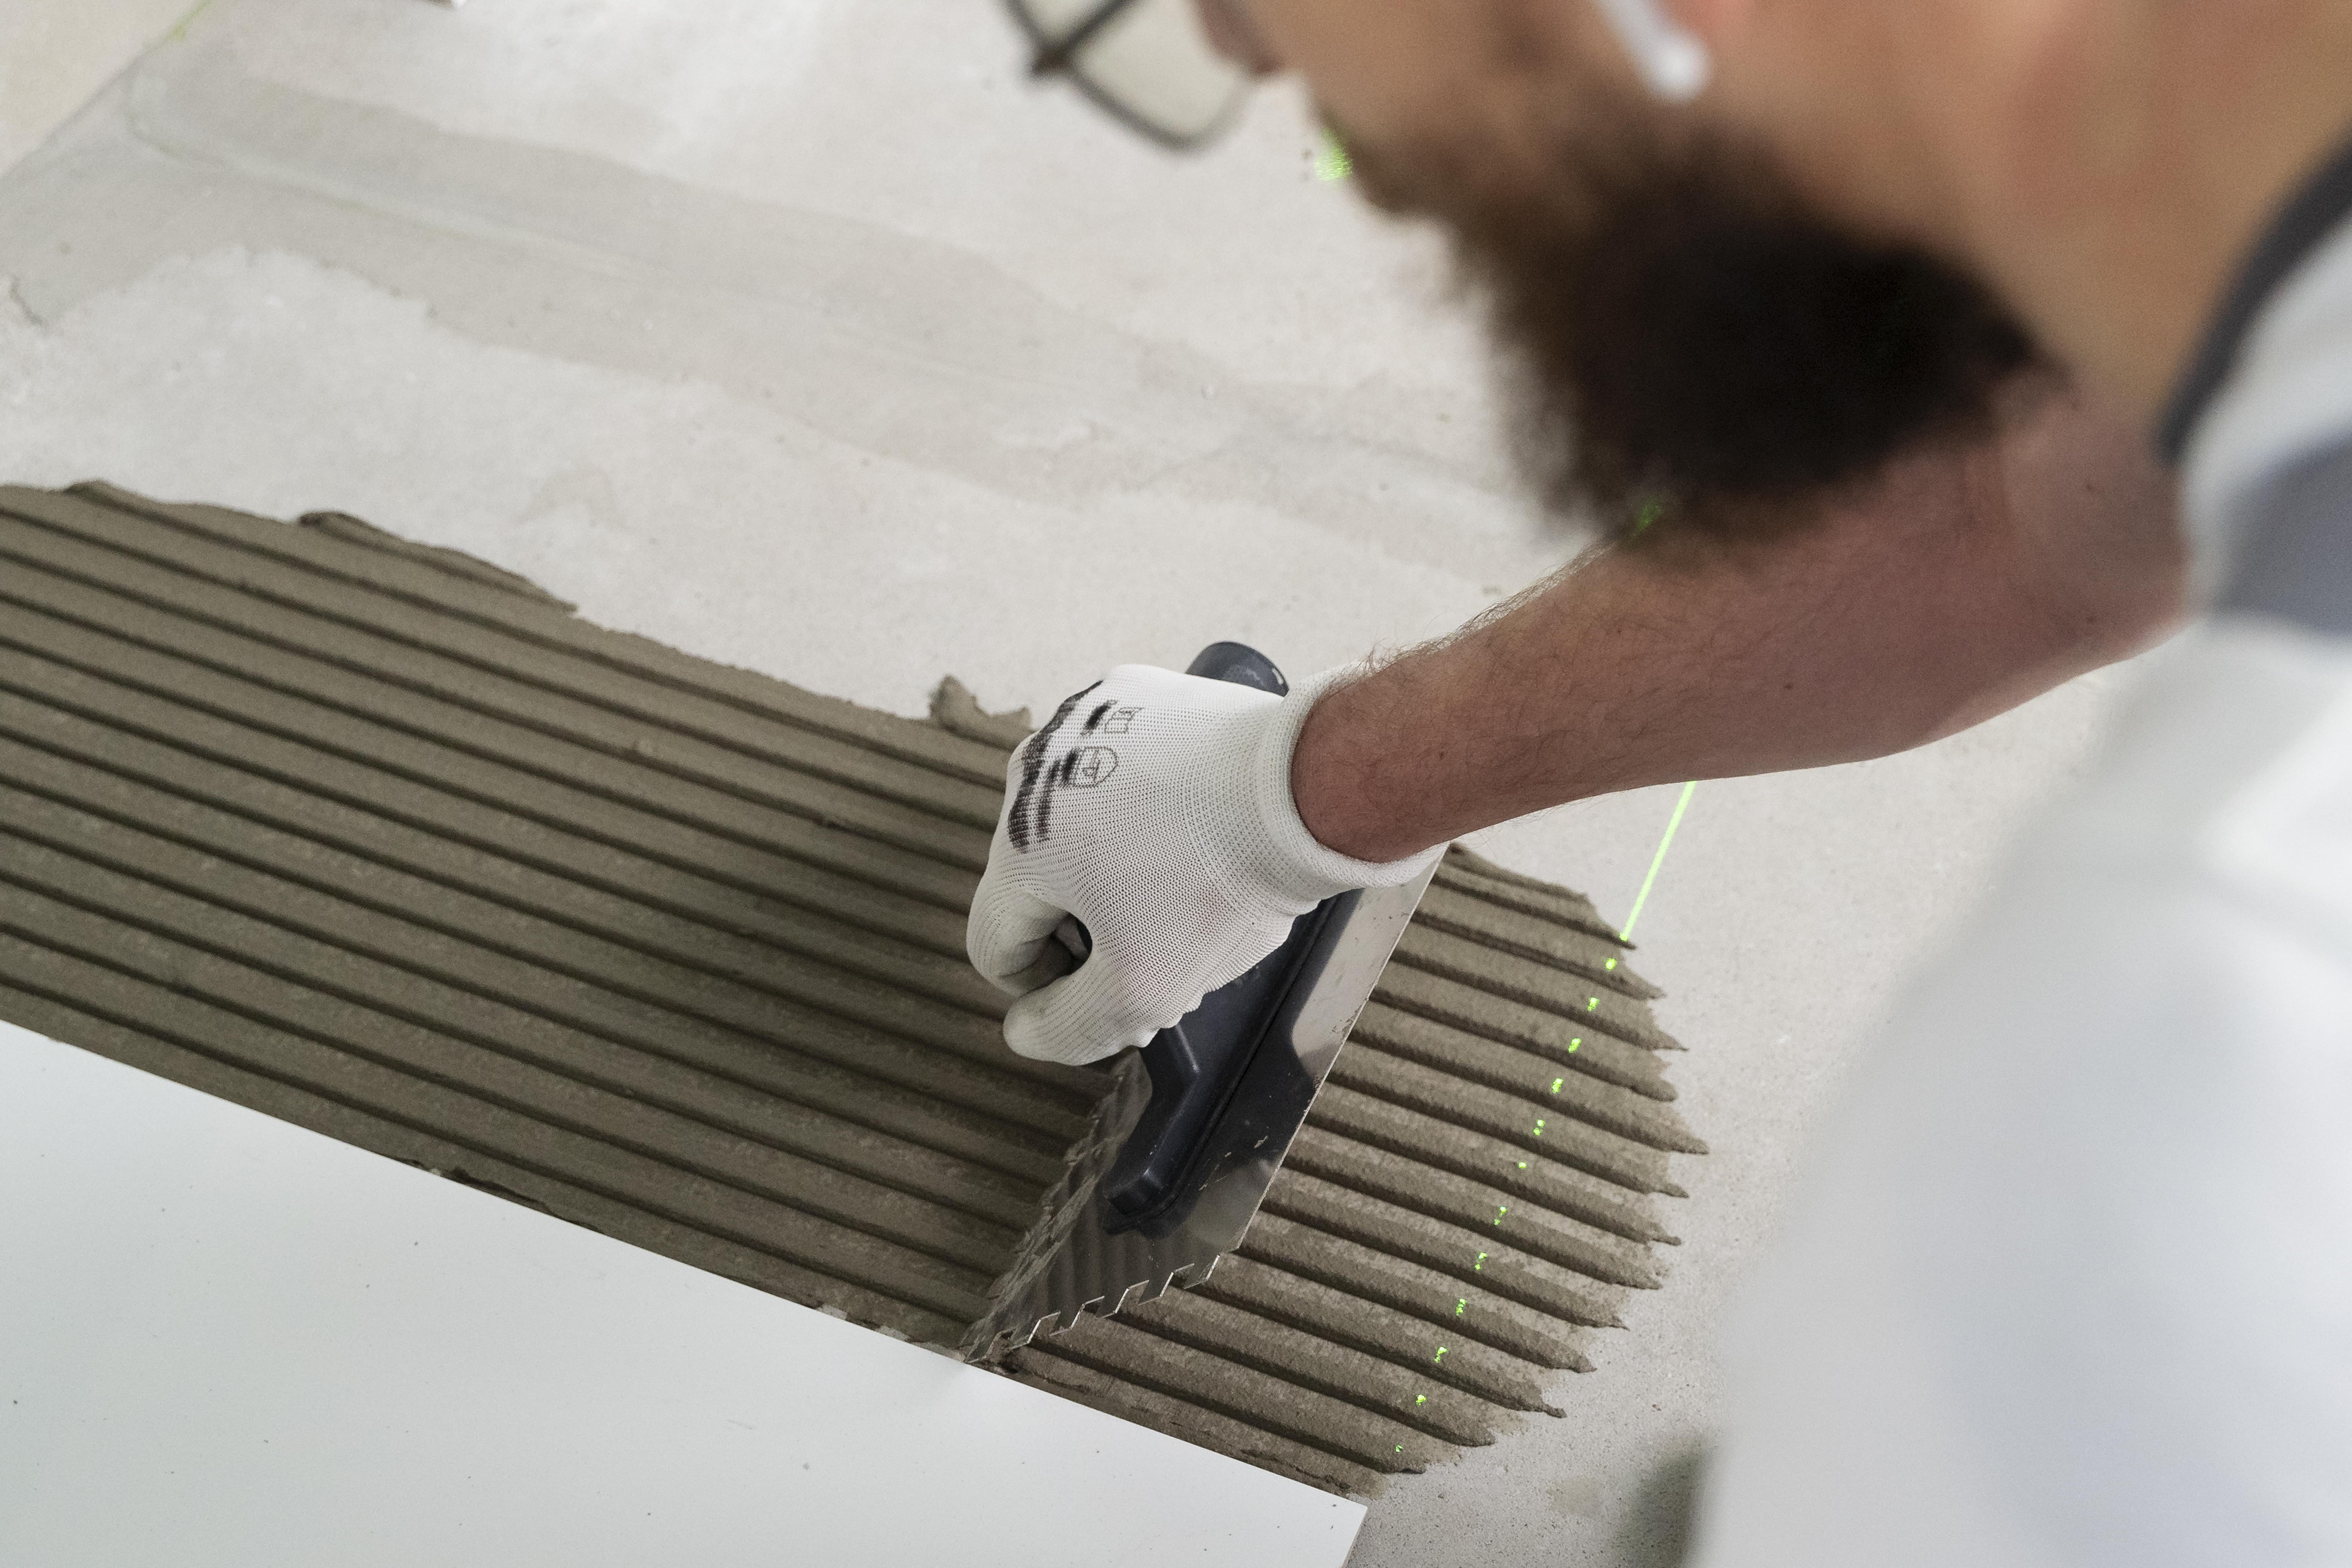
Image by Freepik
Urethane Grout
Urethane grout is a premium option for both residential and commercial applications, known for its exceptional stain resistance, flexibility, and water resistance. Unlike traditional grout types, urethane grout is ready-to-use straight from the container, eliminating the need for mixing and offering a smooth, consistent application process. It’s popular for use with various tile materials, including glass, metal, and porcelain, and it holds up exceptionally well in kitchens and bathrooms, where moisture exposure and stains are common concerns.
Polyurethane Grout
Polyurethane grout is known for its high flexibility and moisture resistance, making it suitable for areas that experience structural movement or temperature variations, like outdoor patios, high-traffic floors, or rooms with underfloor heating. Its elastic qualities allow it to expand and contract with the environment without cracking, offering a stable and long-lasting bond. Polyurethane grout is particularly well-suited for settings exposed to vibration or slight shifts, which might otherwise cause more rigid grout types to fail.
Understanding Tile Adhesives: The Foundation of a Strong Tiling Project
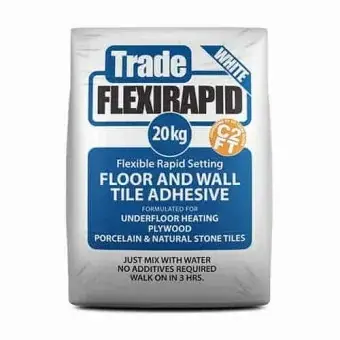
Tile adhesives are essential for any tiling project, holding the tiles firmly in place to create a durable, long-lasting surface. Without the correct adhesive, even the most expertly laid tiles can become loose or damaged, undermining the look and function of your project. Tile adhesives are specially formulated to withstand various factors like weight, humidity, and temperature changes, ensuring that tiles remain securely bonded to floors, walls, or other surfaces for years to come.
Types of Tile Adhesives
Each type of adhesive has unique properties that make it suitable for specific tile materials, applications, and environments. Here’s a breakdown of the most commonly used tile adhesives:
Cement-Based Adhesives
Cement-based adhesives are popular for larger, heavier tiles such as porcelain or natural stone. These adhesives offer high strength and durability, making them ideal for high-traffic areas and areas exposed to moisture. However, they require mixing before use and have a shorter working time, so efficient application is necessary. The quick-setting formula provides a solid, moisture-resistant bond, ideal for floors, bathrooms, and even outdoor spaces where strength is essential.
Ready-Mixed Adhesives
Ideal for smaller tiles and lighter applications, ready-mixed adhesives come prepared for direct use. They’re especially suitable for wall tiles in kitchens or bathrooms, where the application is easier, and the working time is extended, allowing for adjustments. However, ready-mixed adhesives lack the strength needed for heavier tiles and are less suitable for areas with constant moisture. They’re generally recommended for wall tiles and lighter-duty projects in residential settings.
Epoxy Adhesives
Epoxy adhesives provide excellent water resistance and durability, making them ideal for areas frequently exposed to water, such as bathrooms, kitchens, and even some outdoor spaces. Known for their resistance to chemicals and staining, epoxy adhesives are often used in commercial kitchens and industrial applications. While they offer superior bonding, they are harder to work with due to a shorter setting time and can be more expensive than other types. However, for high-moisture environments, the investment in epoxy adhesives often pays off with increased longevity and stability.
Why Surface Preparation Matters
Preparing Concrete for Tiling
Concrete is one of the most common surfaces for tiling, especially in outdoor areas, bathrooms, and kitchens. But even though concrete seems like a straightforward surface, it’s not always ready for tiles right away. The first step is to ensure the surface is clean, free from dust, oil, grease, or any other contaminants that could interfere with adhesion. Sweep or vacuum the area thoroughly, and if needed, wash it down and let it dry completely.
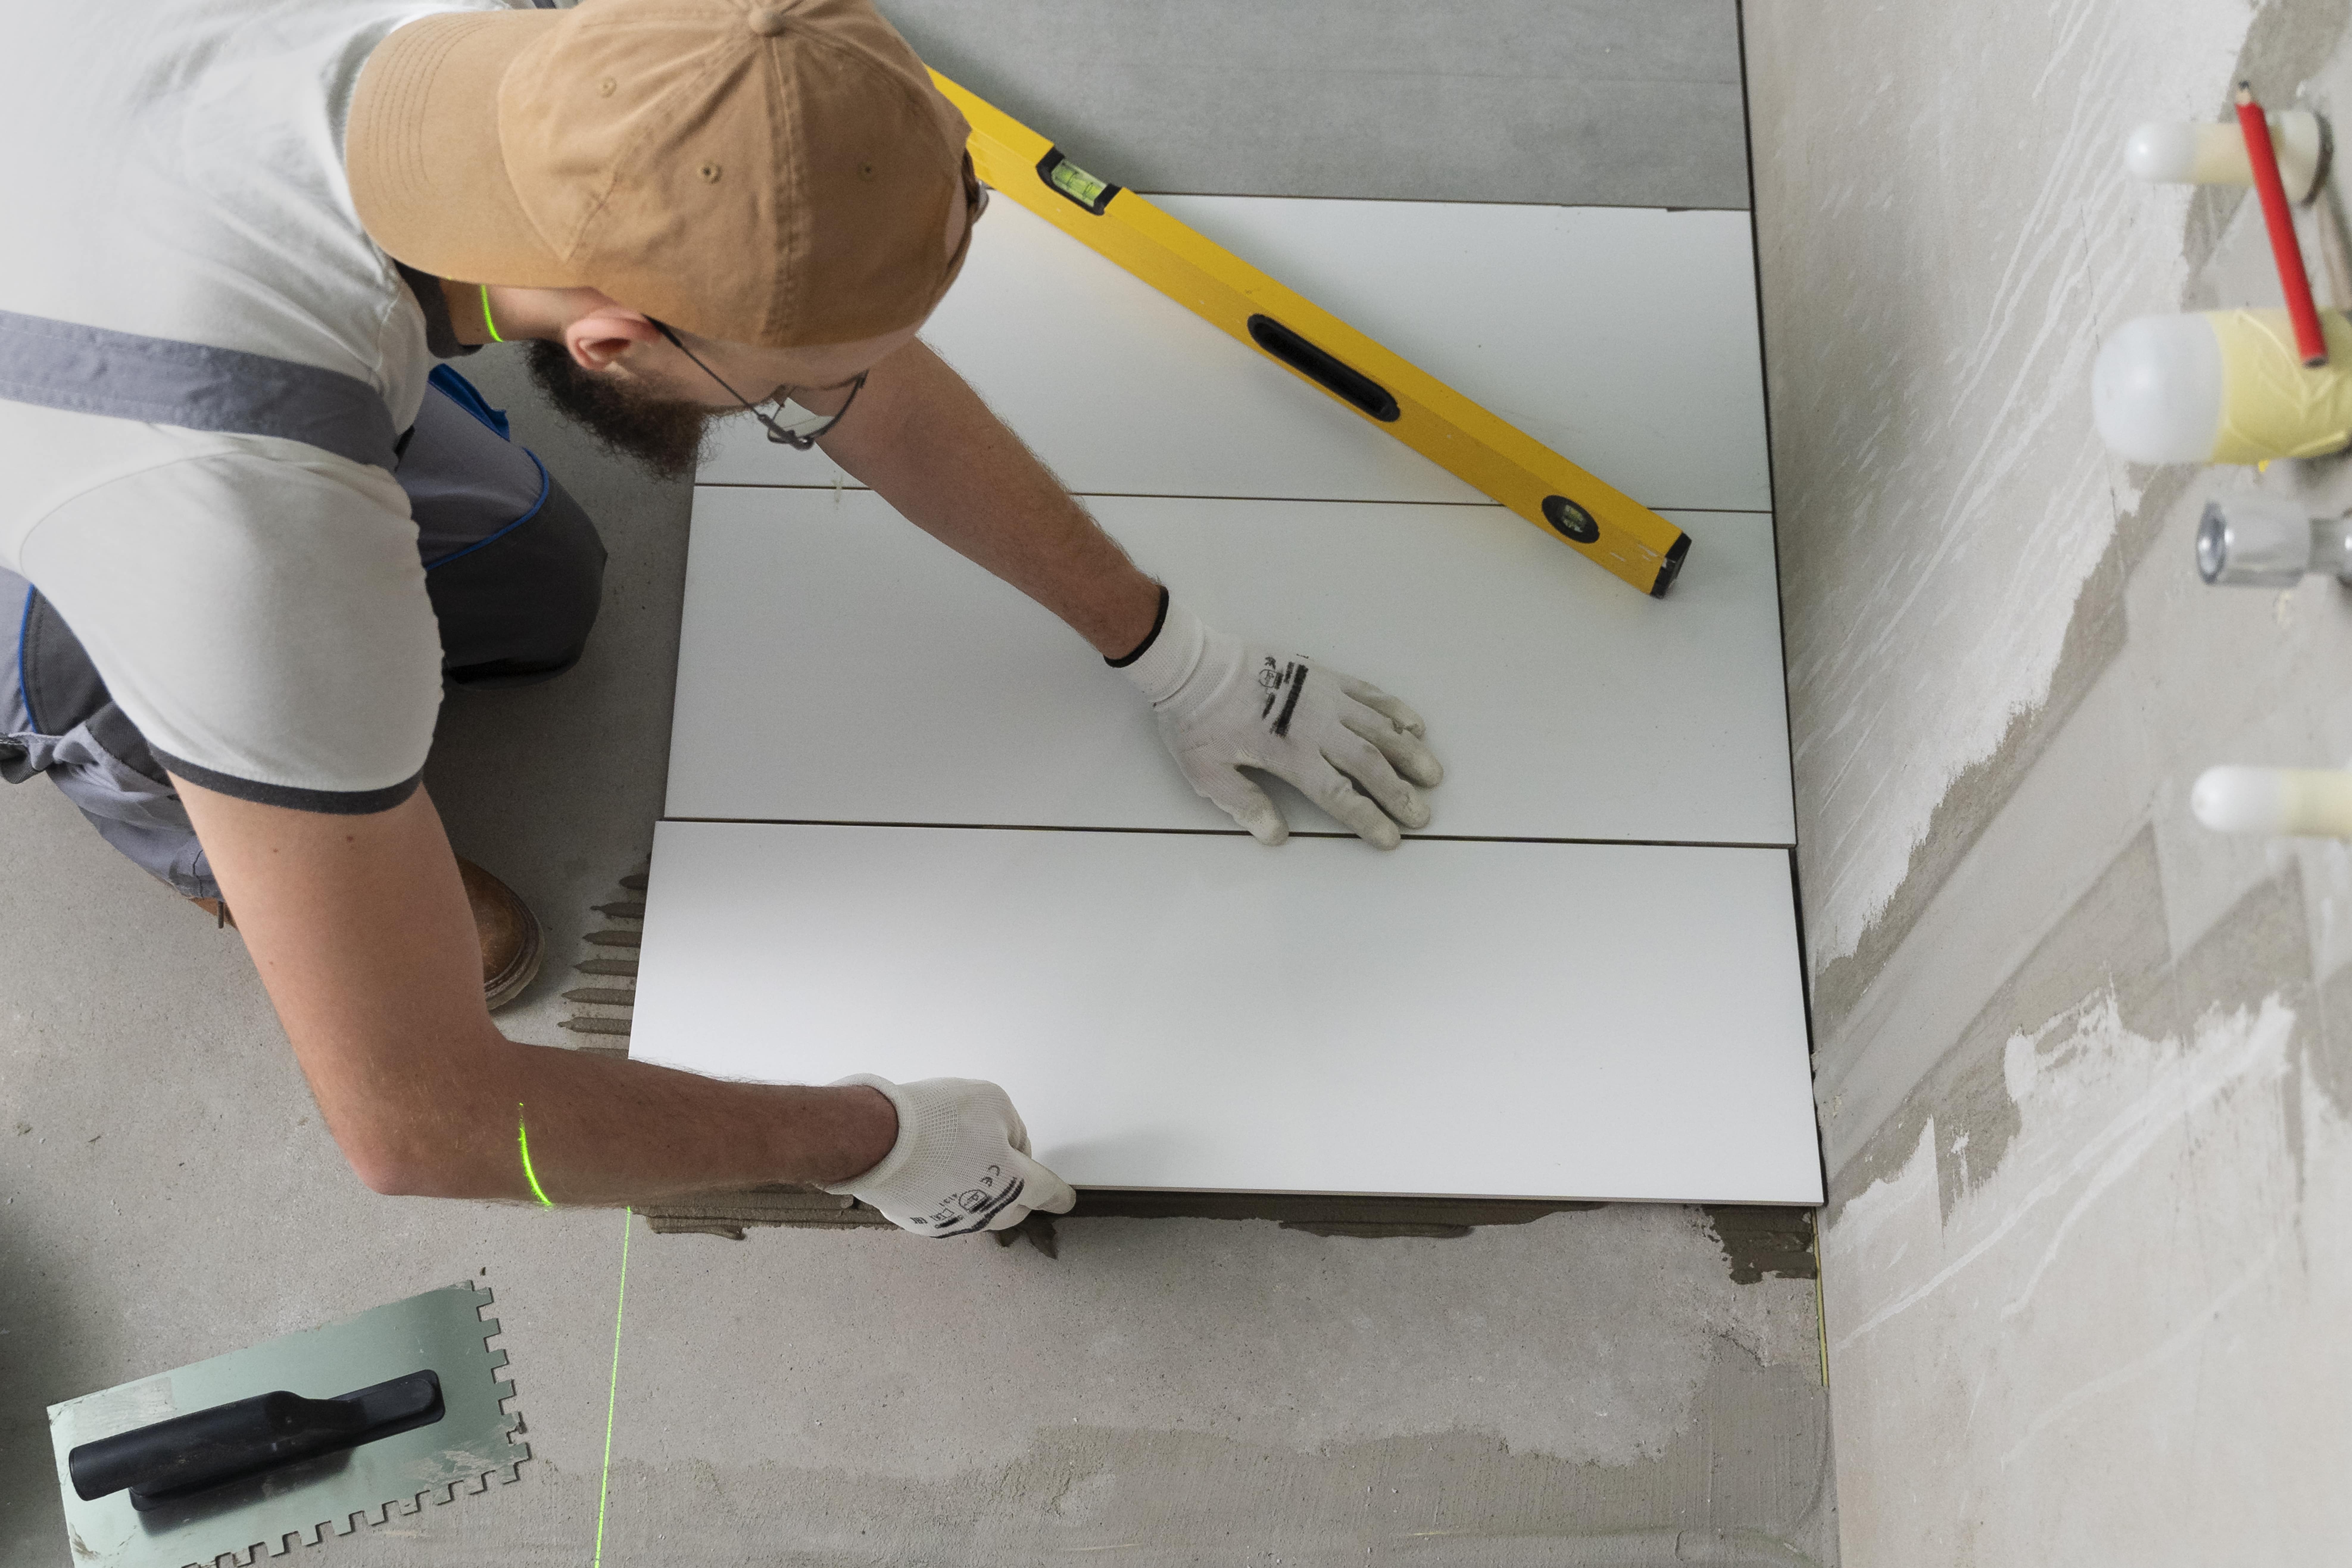
Once the surface is clean, the next step is to ensure it’s level. Uneven areas can cause tiles to sit awkwardly, which not only looks unprofessional but also affects the integrity of the entire project. Use a levelling compound to even out any dips or raised areas. After levelling, you’ll need to apply a primer specifically designed for tiling on concrete. This will create a better bond between the adhesive and the surface, ensuring your tiles stay firmly in place. Let the primer dry completely before proceeding with tile installation.
Preparing Wood for Tiling
Tiling directly onto wood surfaces can be tricky, as wood tends to flex and expand over time, which can lead to cracks in both the tiles and the grout. To avoid this, it's important to use a proper underlayment. Plywood or a cement backer board is often recommended as a base when tiling over wood. These materials provide a stable surface that’s less likely to shift with changes in humidity or temperature.
Start by ensuring the wood surface is sturdy and level. Any flexing or creaking means the wood is not solid enough for tiling and needs to be reinforced. Once you’ve checked for stability, install the underlayment, making sure it’s securely fastened. Next, prime the surface with a tile primer suitable for use on wood, which helps ensure the adhesive bonds correctly. With the right underlayment and primer, your tiles will have a strong foundation that prevents cracking and shifting over time.
Preparing Drywall for Tiling
Drywall is a common surface for tiling in interior spaces like kitchens and bathrooms. However, drywall presents its own set of challenges, particularly when it comes to moisture. Before tiling, make sure the drywall is in good condition—no crumbling or damaged areas. If the drywall is exposed to moisture, such as in a bathroom, it's critical to use moisture-resistant drywall, also known as green board, to avoid any potential damage.
Once your drywall is secure and clean, apply a tile adhesive directly onto the surface using an even layer. The key here is evenness—any uneven patches can cause the tiles to shift or sit unevenly, which is the last thing you want. In areas prone to moisture, using a waterproofing membrane on the drywall before tiling is also a good idea. This extra layer of protection ensures that moisture doesn’t seep through, compromising the structural integrity of both the drywall and the tiles.
Grout Colours and How They Impact Tile Designs
The colour of your grout can dramatically affect the overall look of your tiling project. While grout serves a practical function, it’s also a key design element that can either enhance or detract from your tile choice. The right grout colour can make your tiles pop or create a seamless, unified look. On the flip side, the wrong colour choice can clash with your tiles or draw unwanted attention to the grout lines.
Popular Grout Colour Choices and How to Select
Grout colour typically falls into three main categories: neutral tones like white and grey, bold options like black or dark brown, and coloured grouts that can complement or contrast with your tiles. Here’s a quick breakdown:
- White grout: Classic and clean, but tends to show dirt over time. Ideal for walls and backsplashes in low-traffic areas.
- Grey grout: Versatile and forgiving, it works well in most rooms and with a variety of tile colours.
- Black or dark-coloured grout: Excellent for high-traffic areas like floors, where dirt and wear are more likely. Dark grout can also create a striking contrast with lighter tiles.
Creating Contrast vs. Creating a Seamless Look
When choosing grout, you have two main design directions: either create contrast or aim for a seamless look. Contrasting grout emphasises the pattern of the tiles, making each tile stand out as an individual design element. For instance, white subway tiles with black grout create a bold, modern look that draws attention to the geometric layout.
On the other hand, choosing a grout colour that blends with your tiles can create a seamless, cohesive design where the tiles themselves take centre stage. This works well if your tiles have a unique pattern or texture that you want to highlight without being interrupted by grout lines.
Matching Grout to Tile and Room Design
When deciding on grout, consider how it will fit with the overall room design. A neutral grout works well in minimalist spaces where you want the tiles to blend in, while a bold grout can add drama to more eclectic or modern designs. For instance, if your tiles are a statement piece—like colourful mosaic tiles in a bathroom—a neutral grout will keep the focus on the tiles, allowing them to shine without distraction.
Ultimately, the grout you choose should not only complement your tiles but also enhance the overall aesthetic of your room. Whether you’re aiming for a clean, modern finish or a rustic, textured look, grout colour is an important part of the equation.
Common Adhesive and Grout Problems and How to Fix Them
Tiling projects can sometimes run into issues, even with the best materials and preparation. Understanding common problems like cracking grout or loose tiles and knowing how to fix them can save you a lot of hassle down the line.
Cracking Grout
Cracking grout is one of the most common issues people encounter, often caused by movement in the substrate or improper grout choice. If your floor or wall shifts over time, the rigid grout may crack. The solution? Use a flexible grout or adhesive in areas where movement is expected, and ensure the substrate is stable before starting the tiling process. If you already have cracking grout, you may need to remove the damaged sections and reapply flexible grout to accommodate any future movement.
Loose Tiles Due to Poor Adhesion
Loose tiles can result from poor adhesive application or using the wrong type of adhesive for the tile or surface. If tiles are coming loose, it's usually because the adhesive hasn't bonded properly with either the tile or the substrate. To fix this, you’ll need to remove the tile, clean off any old adhesive, and reapply a suitable adhesive, making sure there are no air pockets this time. Always check that the adhesive you’re using matches the type of tile and surface for better longevity.
Discolouration of Grout Over Time
Over time, grout can start to look discoloured, especially in high-traffic or moisture-prone areas like kitchens and bathrooms. This can be caused by dirt, mildew, or simply age. The best way to combat grout discolouration is through regular cleaning and sealing. If your grout is already discoloured, you can clean it with specialised grout cleaners or, in severe cases, consider re-grouting or applying a grout colourant to restore its appearance.
Final Words
By carefully following these steps and selecting the appropriate products, you’ll set up your tiling project for long-term success. This approach ensures that the final look is not only aesthetically pleasing but also highly durable, even in areas exposed to moisture, heat, or frequent use. With the right materials and techniques, your tiles will maintain their integrity and appearance over the years, giving you a professional result that can withstand daily wear and tear without compromising on style.


