Tiling a bathroom can seem like a daunting task, but with the right approach, anyone can achieve beautiful results. Whether you're a seasoned DIY enthusiast or a complete novice, this guide will walk you through the process step-by-step. By the end, you'll have the knowledge and confidence to tackle your bathroom tiling project.

Planning and Preparation

Before diving into the actual tiling process, it's essential to spend some time planning and preparing. This stage sets the foundation for a smooth and successful project, ensuring you have everything you need and that you're ready to begin.

First, you need to measure your space. Start by measuring the area you plan to tile, which includes the walls, floor, or any other surfaces you want to cover. Accurate measurements are crucial to ensure you purchase the right amount of tiles and materials. Measure the length and width of each surface and calculate the total square footage. This will help you avoid running out of tiles mid-project or buying too many.

Once you have your measurements, the next step is to choose your tiles. Selecting the right tiles is a critical decision that can greatly influence the look and feel of your bathroom. There are countless options available, from ceramic and porcelain to natural stone and glass. Consider the style and colour scheme of your bathroom. Think about the durability and maintenance requirements of different tile materials. For example, porcelain tiles are highly durable and water-resistant, making them ideal for bathrooms.

With your tiles chosen, it's time to gather your tools and materials. Having the right tools on hand will make the tiling process much easier. You will need tiles, tile adhesive, tile spacers, grout, a tile cutter or wet saw, a trowel, a grout float, a sponge, measuring tape, a level, a pencil, and safety gear such as gloves and goggles. Ensuring you have all these items before you start will save you a lot of frustration later.

Before you can start laying tiles, you need to prepare the surface. A smooth, clean surface is essential for a successful tiling job. If you're tiling over an existing surface, ensure it's in good condition by removing any old tiles, adhesive, or debris. For new surfaces, make sure they are dry and free of dust. If the surface is uneven, consider using a self-levelling compound to create a flat, even base.

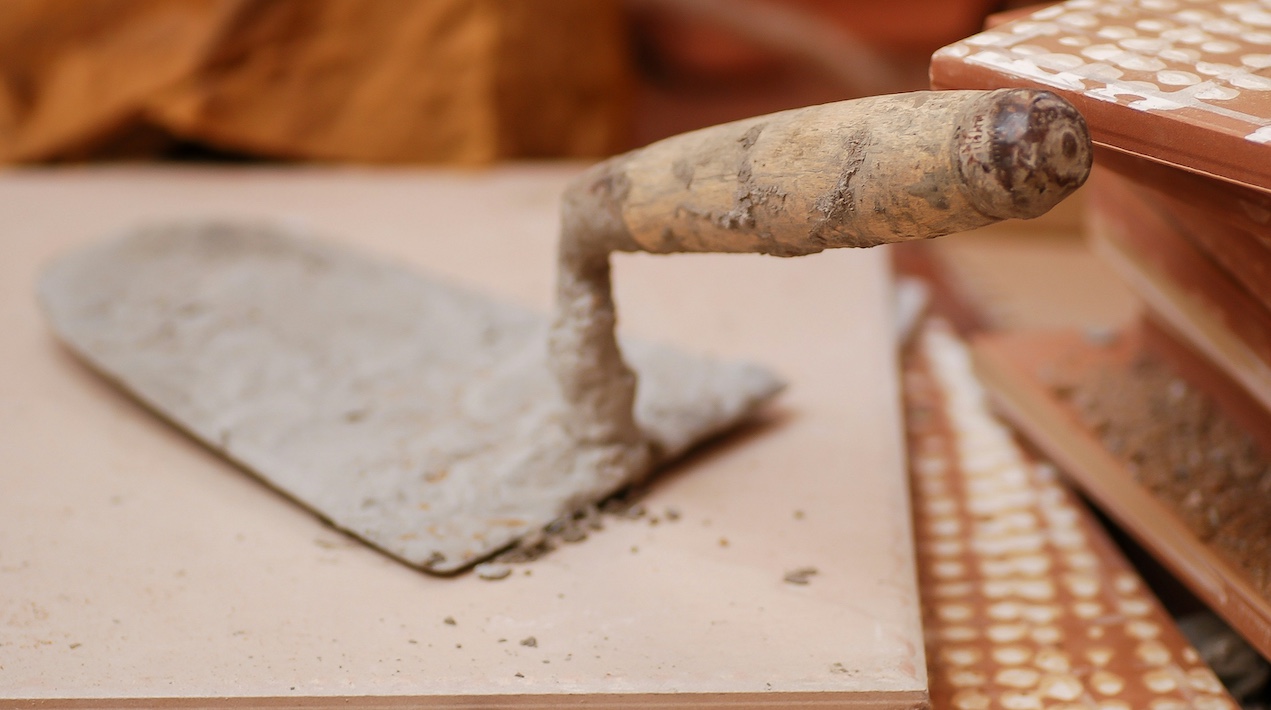
trowel on tiles

Laying the Tiles

With your planning and preparation complete, you can now start laying the tiles. This process requires patience and precision, but following these steps will help you achieve a professional-looking result.

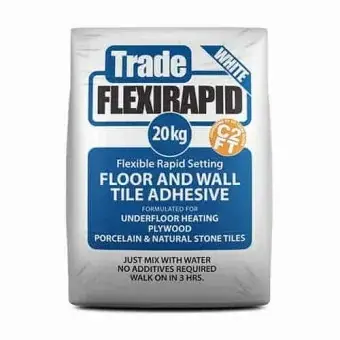
Begin by applying the tile adhesive to a small section of the surface using a notched trowel. Hold the trowel at a 45-degree angle to create ridges in the adhesive, as these ridges help the tiles adhere better. It's important to work in small sections to prevent the adhesive from drying out before you can place the tiles.

Start at the centre of your surface and work your way outwards. This ensures a balanced and symmetrical layout, which is particularly important for aesthetic reasons. Press each tile firmly into the adhesive, giving it a slight twist to ensure good contact. Use tile spacers to maintain even gaps between tiles. This will make grouting easier and result in a more professional finish.

As you lay the tiles, use a level to check that they are even. Adjust the tiles as needed to maintain a flat surface. It's essential to correct any mistakes while the adhesive is still wet because once the adhesive sets, it will be much more difficult to make adjustments.

You will likely need to cut tiles to fit around obstacles or edges. Measure the area where the tile needs to fit and mark the tile with a pencil. Use a tile cutter or wet saw to make the cut. Always wear safety gear when cutting tiles to protect yourself from dust and sharp edges.

Once all the tiles are in place, allow the adhesive to set according to the manufacturer's instructions. This usually takes about 24 hours but can vary depending on the type of adhesive and environmental conditions. It's important to give the adhesive enough time to fully cure before moving on to the next step.

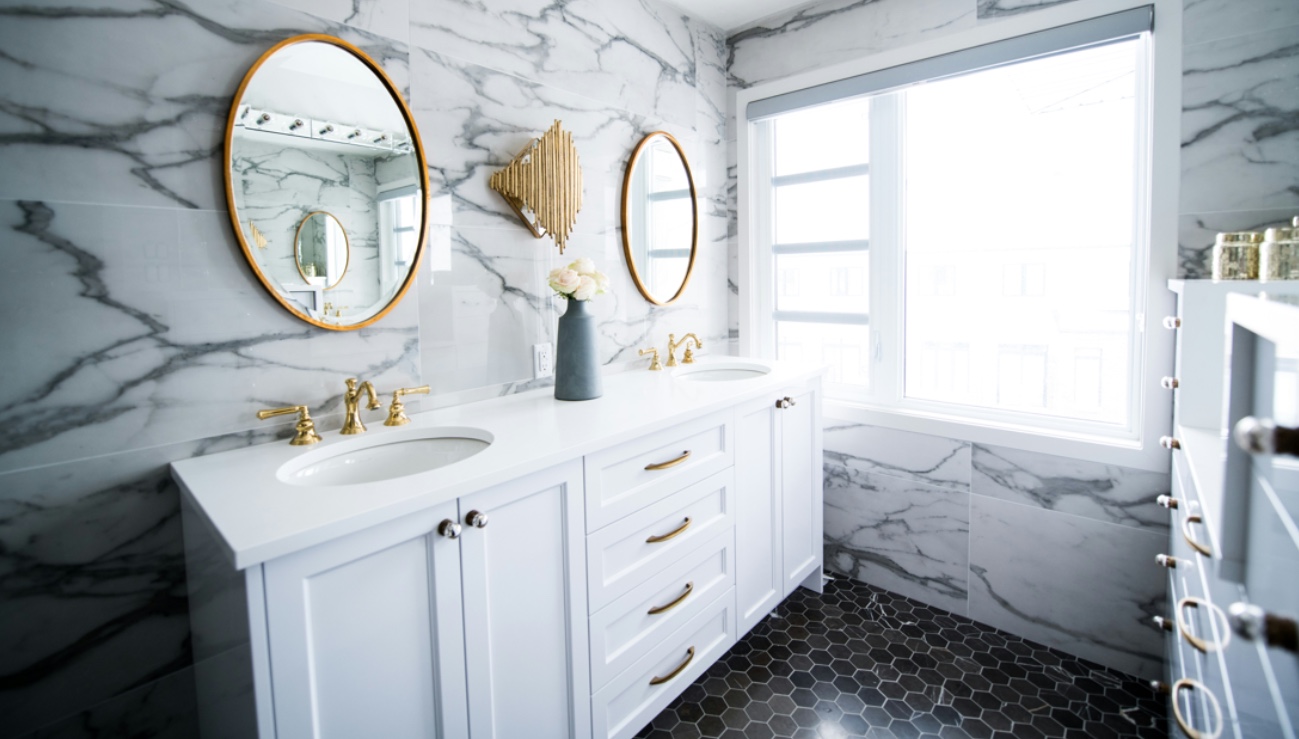
aesthetic bathroom

Grouting the Tiles

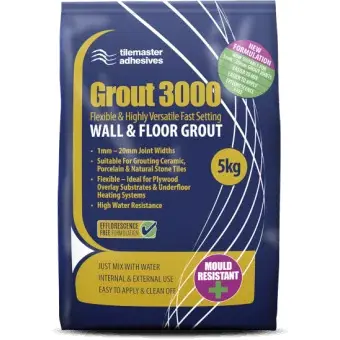
After applying the grout, use a float to scrape off any excess grout from the surface of the tiles. Be careful not to remove grout from the gaps. Allow the grout to set for about 15-30 minutes. This waiting period is crucial as it gives the grout enough time to firm up slightly, making the next step easier.

Once the grout has set, take a damp sponge and gently wipe away any remaining grout haze from the tile surfaces. Rinse the sponge frequently and change the water as needed to keep it clean. This process may need to be repeated several times to ensure all the grout haze is removed. However, be careful not to disturb the grout lines as you clean.

After the initial cleaning, let the grout cure for the time recommended by the manufacturer, typically around 24 hours. During this curing period, avoid getting the grout wet or exposing it to extreme temperatures, as this could affect the curing process.

Sealing the Grout

Once the grout has fully cured, it’s a good idea to seal it to protect it from moisture and staining. Sealing the grout is especially important in a bathroom, where tiles are frequently exposed to water and humidity. A good grout sealer will help keep your grout looking fresh and clean for longer.

Choose a grout sealer that’s appropriate for your type of grout. Apply the sealer using a small brush or applicator bottle, carefully following the manufacturer's instructions. Make sure to cover all the grout lines thoroughly. Allow the sealer to dry completely before using the bathroom. This drying time can vary, so check the sealer’s instructions for precise details.

Final Touches

With the tiles laid and the grout sealed, your tiling project is almost complete. There are just a few final touches to ensure everything looks perfect and functions well.

First, inspect the tiled area for any missed spots or imperfections. Touch up any areas that need additional grout or adhesive. Clean the tiles one last time with a damp cloth to remove any remaining dust or residue.

Next, reinstall any fixtures or fittings that were removed during the tiling process. This includes items like towel racks, mirrors, and showerheads. Be careful not to damage the tiles as you reattach these items.

If you removed the baseboards or trim before tiling, now is the time to reinstall them. Use a caulking gun to apply a thin bead of caulk along the edges where the tiles meet the walls, ceiling, or other surfaces. This will help create a clean, finished look and provide additional protection against moisture.

Maintenance Tips

Proper maintenance will ensure your tiled bathroom remains beautiful and functional for years to come. Here are some tips to keep your tiles and grout in top condition.

Regularly clean the tiles with a mild detergent and warm water. Avoid using harsh chemicals or abrasive cleaners, as they can damage the tiles and grout. A soft sponge or cloth is usually sufficient for routine cleaning.

Pay special attention to the grout lines, as they can attract dirt and mildew. Use a grout cleaner or a mixture of baking soda and water to scrub the grout lines periodically. An old toothbrush can be an effective tool for this task.

Keep the bathroom well-ventilated to reduce moisture buildup. Use an exhaust fan during and after showers to help remove humidity from the air. This will help prevent mould and mildew from forming on the tiles and grout.

If you notice any cracks or gaps in the grout, repair them promptly to prevent water from seeping behind the tiles. Small cracks can often be fixed with additional grout, while larger gaps may require removing and replacing the damaged grout.

Start Tiling!

Tiling a bathroom may seem like a challenging project, but with careful planning, the right tools, and a methodical approach, it's a task that can be accomplished successfully by anyone willing to put in the effort. By following this guide, you can transform your bathroom into a beautiful, functional space that you can be proud of.

Remember that patience and attention to detail are key to achieving a professional finish. Take your time with each step, from measuring and choosing tiles to laying them and applying grout. Don’t rush the process, and make sure to correct any mistakes as you go along.

With your new skills and knowledge, you’re now ready to tackle your bathroom tiling project. Enjoy the process, and look forward to the satisfaction of a job well done. Happy tiling!

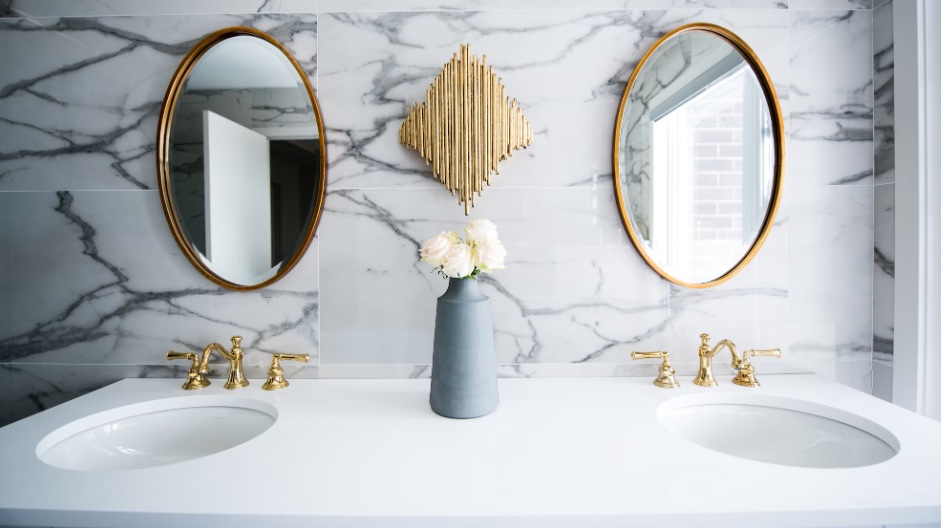
aesthetic sink

34 Reviews

Reviewsio

4.6 Rating 34 Reviews

Tom Kellaway

Verified Customer

Quick and efficient

17 days ago

peter dolman

Verified Customer

I ordered a tile saMple and was amazed to receive within 2 days. Efficient service thank you.

1 months ago

Anonymous

Verified Customer

Excellent service, customer services were really helpful answering my order queries which culminated in a speedy delivery.

1 months ago

Anonymous

Verified Customer

Received excellent service; they added some additional tiles on for me as I realised I hadn't ordered enough on the day they were due to be despatched. Very helpful staff, smooth delivery and delighted with the tiles. Would def recommend and will use them again. (Amazonia Jade Green 6.5x20cm Rectangular Gloss Ceramic Wall Tile)

2 months ago

ALEXANDER GRAHAM

Verified Customer

|Excellent Service, tiles arrived very quickly and were well packed. Would highly recomemend this company.

4 months ago

Olena Golovtchouk

Verified Customer

Great tiles, very expensive delivery

4 months ago

Robin Temple

Verified Customer

Excellent service and I am thrilled with the tile you sent. I will be placing an order for more of these tiles to use as a splash back in a small kitchen .

4 months ago

Claire Martin

Verified Customer

Superb service and product

4 months ago

Anonymous

Verified Customer

Very happy with these tiles. Arrived quickly and very well packaged.

5 months ago

Sian Pugh

Verified Customer

Great price and fantastic service

5 months ago